Making the Decision
Why we decided to use Coppercoat.
Japan

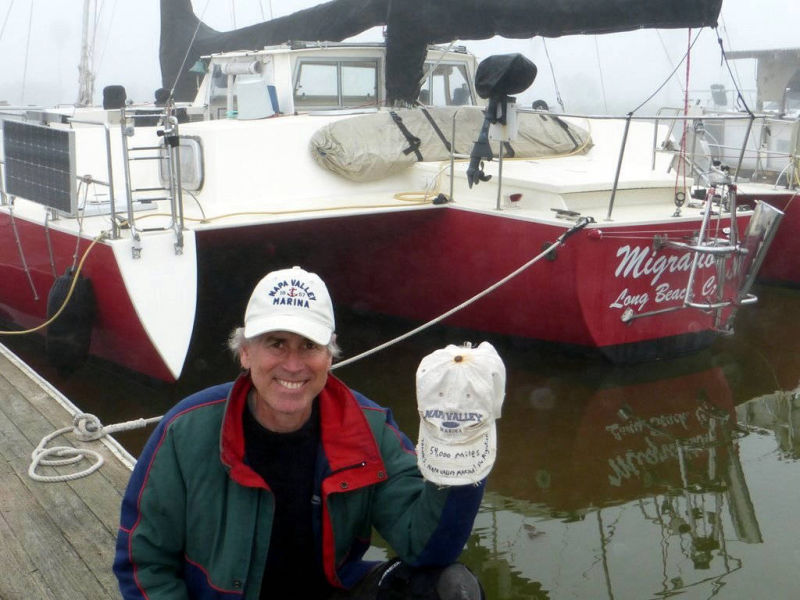
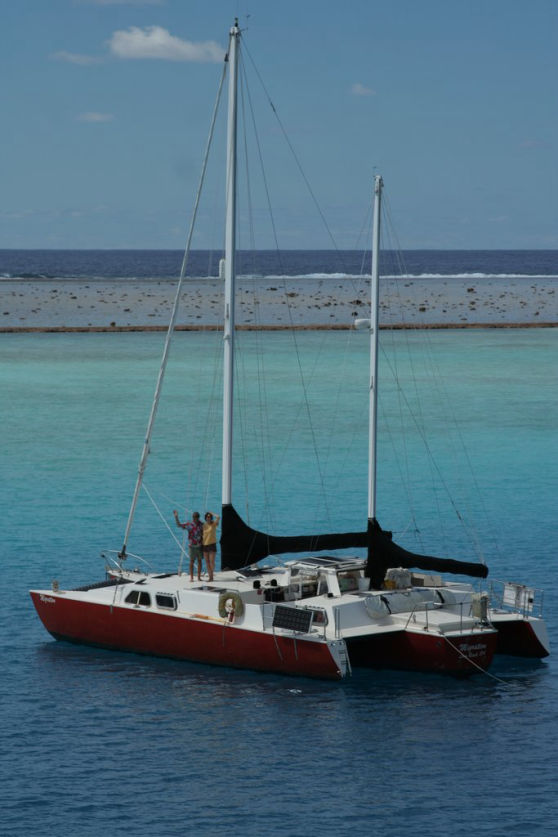
We're Bruce & Alene of s/v Migration. As of this review (June 2020), we've been cruising for 15+ years and have sailed over 60,000 miles.

Over at Migrations, we have some other resources that you might find useful, including our Rapa Nui Anchoring Guide and more product reviews.
Looking for free downloadable satellite and nautical charts in MBTile format (for use on OpenCPN)? Look no further.
READ THIS
We will continue to provide updates on the performance of our Coppercoat as we sail to different areas of the world.
---------------------------------------------------
There are a lot of photos and videos here; probably more than necessary. You don't need to look at all of them (unless you are trying to kill a lot of time). They're here because we wanted to document the entire process so others can make their own decisions on the results. We also wanted people to see why we made the decisions we made and to know that most of it wasn't just shooting from the hip. If you're really short on time, there's a final summary (and tips) at the end of this review.
Why No YouTube videos?
All of the videos are hosted on Vimeo.
We try hard not to support irresponsible and harmful companies like Facebook, Google (owner of YouTube), and Amazon. That's why these videos are not on YouTube and why you won't find advertising on this site. We hope you'll consider the effect your online decisions have on your fellow humans and our planet.
The incessant monetizing of the cruising life also concerns us. Vloggers, stop trying to be famous and just go sailing already. And those who support them, give your money to something more worthwhile.
If you find this site useful, consider making a donation to the excellent non-profit organization, the National Resource Defence Council. Even better, quit Facebook and stop buying at Amazon.
July 2016
Why we decided to use Coppercoat.
Japan
August 2016
Purchase price, importation, and application of Coppercoat. Our decision to follow Coppercoat UK and not Coppercoat USA's instructions for sanding.
Japan
September 2016 - April 2018
Good performance in waters below 15C (59F).
Japan, Aleutians, Alaska, British Columbia, Washington, Oregon Coast, Northern California
May 2018 - January 2019
As soon as we got to warmer waters things got bad.
Southern California & Baja California
January - March 2019
Consulting with Coppercoat UK, we remove a thousand barnacles and try to make things better.
La Paz, Mexico
March - June 2019
More sailing in warmer waters, but no improvement.
Sea of Cortez, Banderas Bay, & Islas Revillagigedos, Mexico
June 2019
We decide to do a test of different levels of sanding and apply various bottom paints to compare performance.
La Paz, Mexico
July - September 2019
Testing in the very warm water of summertime Sea of Cortez gives us more knowledge. Coppercoat USA's sanding technique shows a definite performance improvement.
Sea of Cortez, Mexico
October - November 2019
Armed with our test results and more product from Coppercoat, we attempt to follow Coppercoat USA's sanding instructions on the entire bottom.
Puerto Peñasco, Mexico
November 2019 - May 2020
Various mixed test results
Sea of Cortez, Islas Revillagigedos
& Banderas Bay, Mexico
May 2020
A methodical test of Coppercoat in Banderas Bay, Mexico.
What does this product actually do?
The Future
Was it worth it?
Plus a few tips if you decide to use Coppercoat.
July 2016
Japan
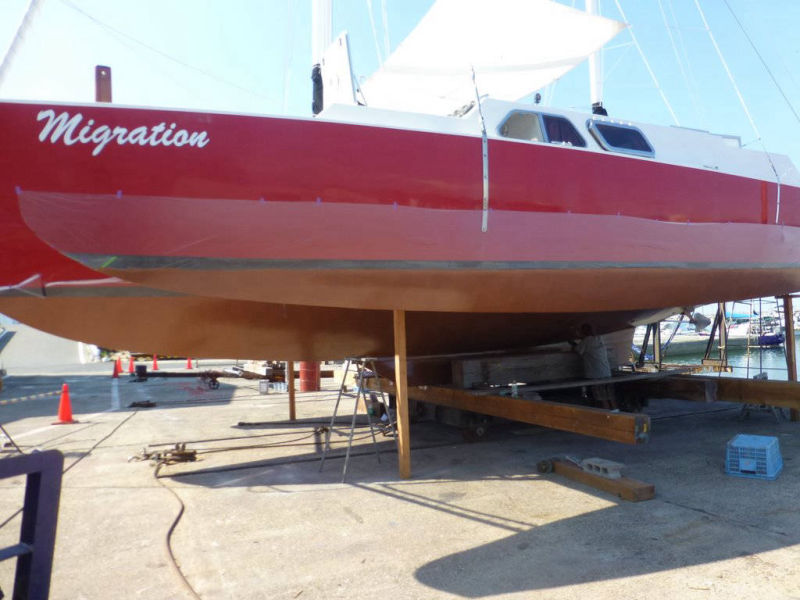
When we painted the bottom in 2014 after our refit in Thailand, we wanted to use the same Americoat ABC3 ablative paint that we'd used previously. However, the paint had been rebranded and the product we were advised to use was not the correct paint for our boat. The performance was atrocious. By 2015 we knew we had to do something soon.
Migration was built in 1969 and is constructed of glass over ply. Her beam is nearly 8 meters. Travel lifts are tough on her so, exept for once, we always haul her on a railway or a hydraulic trailer. That limits our choices in most parts of the world. We tend to haul every 3 years, so if Coppercoat could help us avoid 2 of those haulouts, it would save us a lot of time and money.
We had read mixed reviews of Coppercoat -- some people swear by it and some hate it. We decided that since we had to haul the boat in Japan, and do so much work on the bottom, we would give Coppercoat a try.

August 2016
Japan
We decided to order Coppercoat directly from the manufacturer in the United Kingdom. They were responsive -- especially as it was a bit challenging to figure out the shipping to Japan. The price was GBP 70 per kit and we orderd 23 kits. The original quote for shipping was GBP 195 but later had to be increased to GBP 365 for a total cost of GBP 1,975 (US$ 2,617).
While we were waiting for the product to arrive, we began removing the bottom paint from Migration's hull. Again, Coppercoat UK were very helpful and responsive to our questions.
To pick up the product, we rented a car to drive to Nagasaki Airport from the boatyard near Karatsu. We succeeded (somehow!) in getting the product out of customs without paying the US$350 duty, though it did require a second visit to the local Karatsu customs office. Coppercoat UK was there for us when we needed additional paperwork to inform Customs that the products were not hazardous.
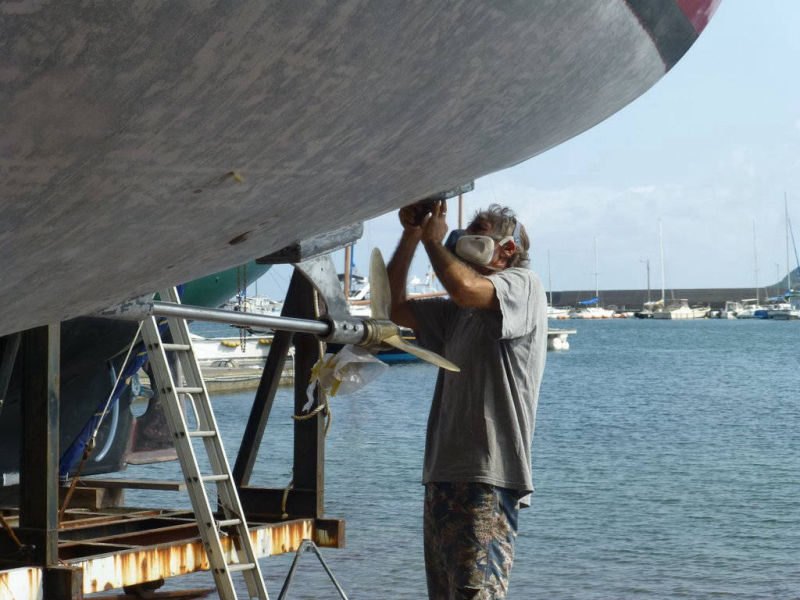
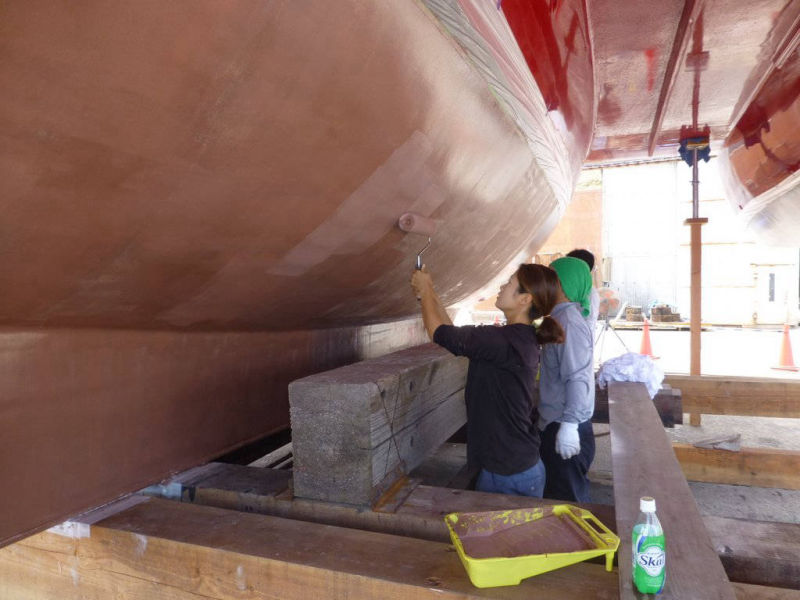
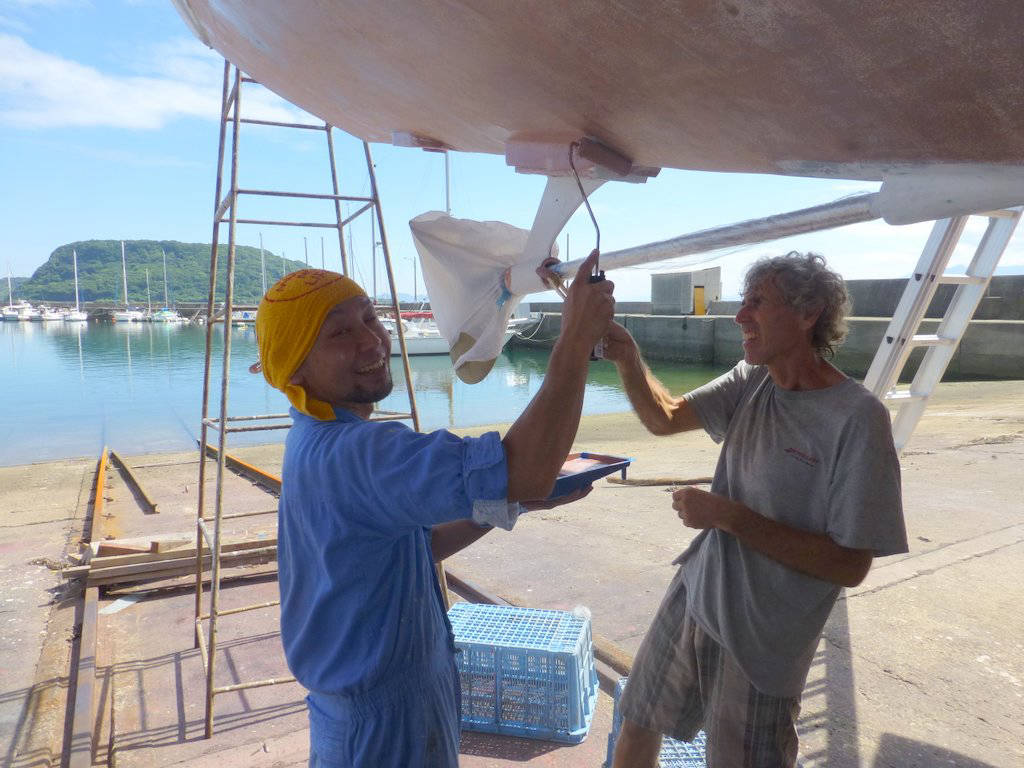
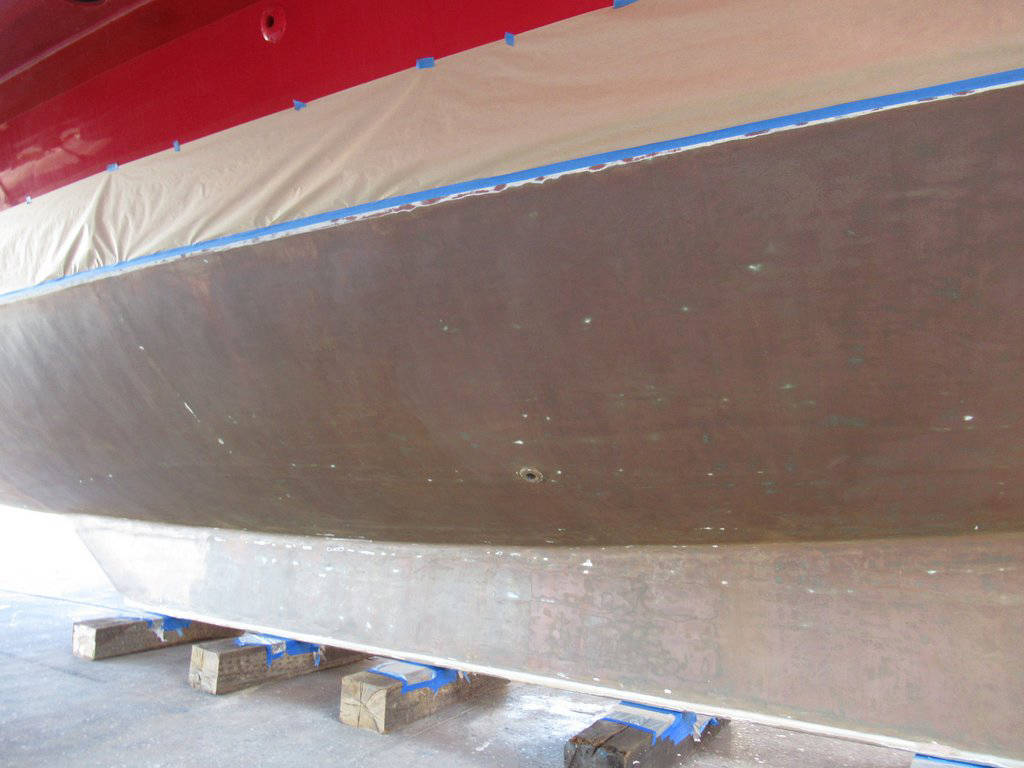
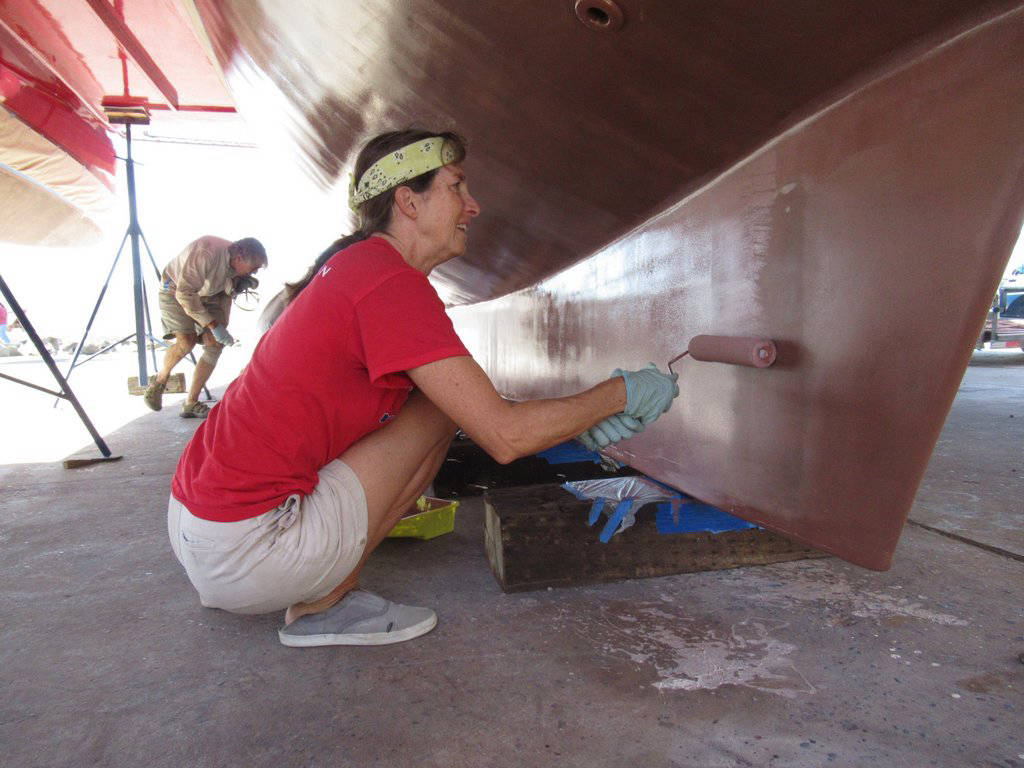
The product was shipped with application instructions and we also downloaded the instructions from Coppercoat USA's website (these instructions were not the same). The instructions were clear and the application went pretty well. We estimated Migration's wetted surface at approximately 65 sq meters (700 sq ft). Coppercoat UK did their own research and came up with 70 sq meters which was very impressive since they had never seen the boat. We used 22.5 kits which gave us 4 coats over all three hulls plus a 5th coat on the outside of the amas (outer hulls) and the front and back of the main hull (about another 1/3 of the boat).
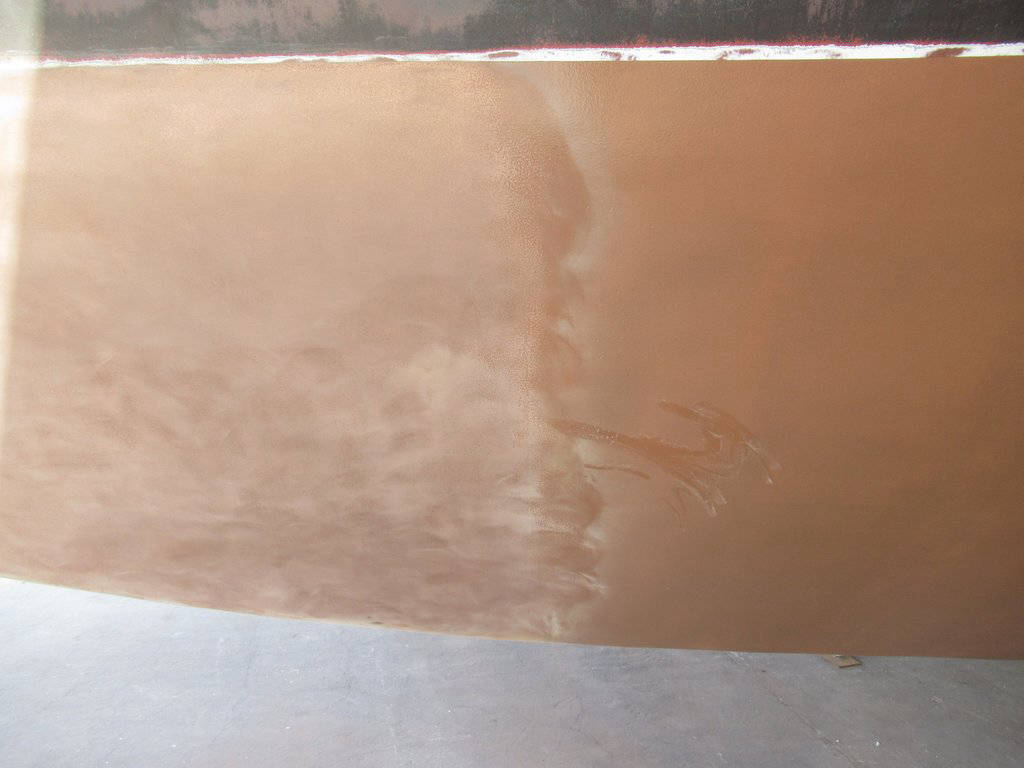
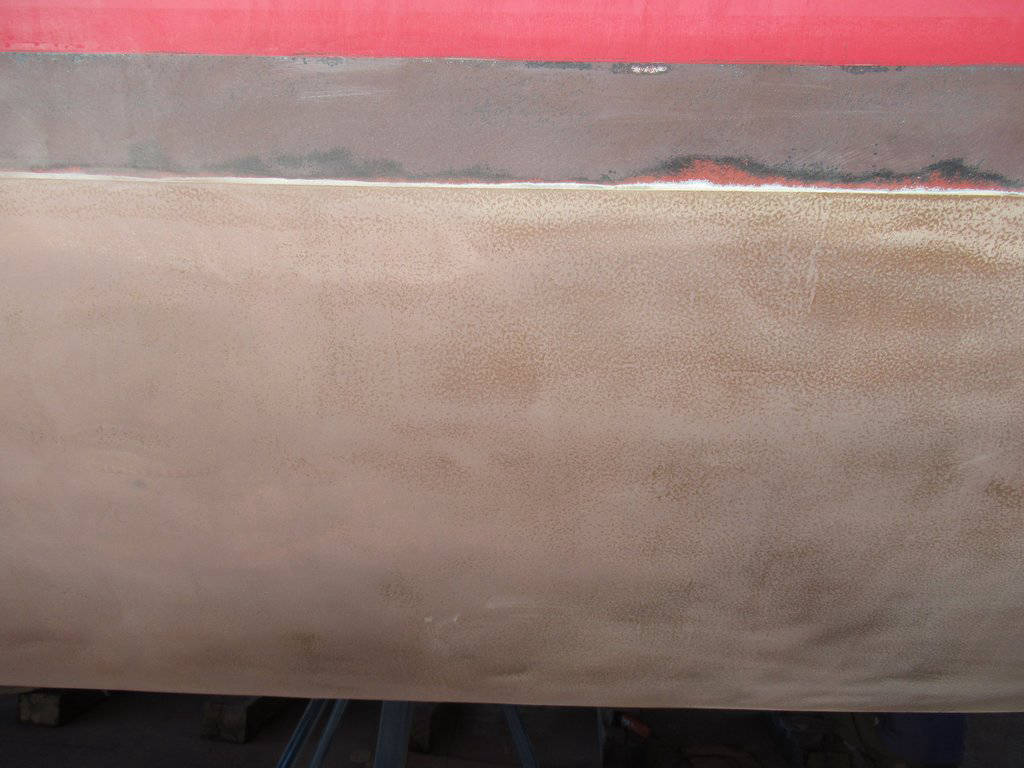
We had hired some workers from the yard to help us roll the product since Migration has a lot of wetted surface and to get it done in one day required several people rolling at once. It was the first time using Coppercoat for all involved. Most of the areas looked fine; however, much of the hull did have an orange peel finish and there were a few runs here and there.
We did sand some of the runs out, but not all. However, now came the hard part: sanding the rest of the hull.
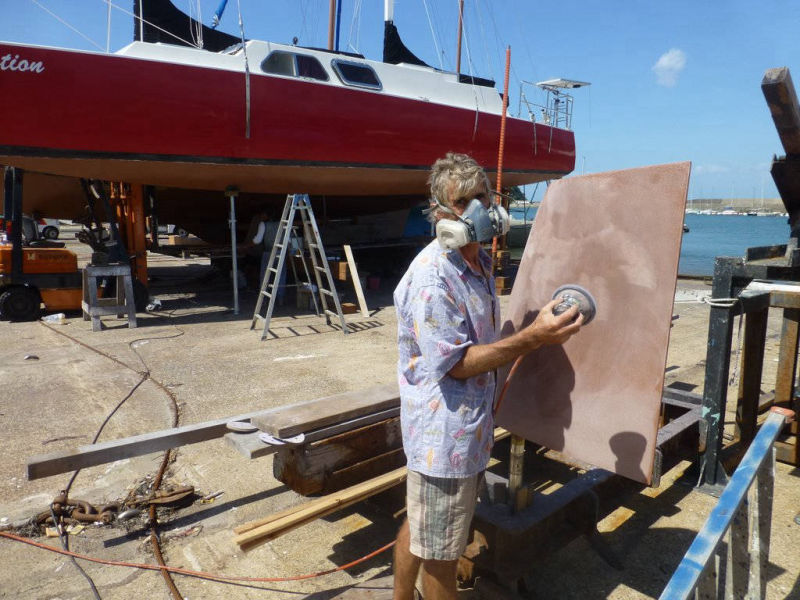
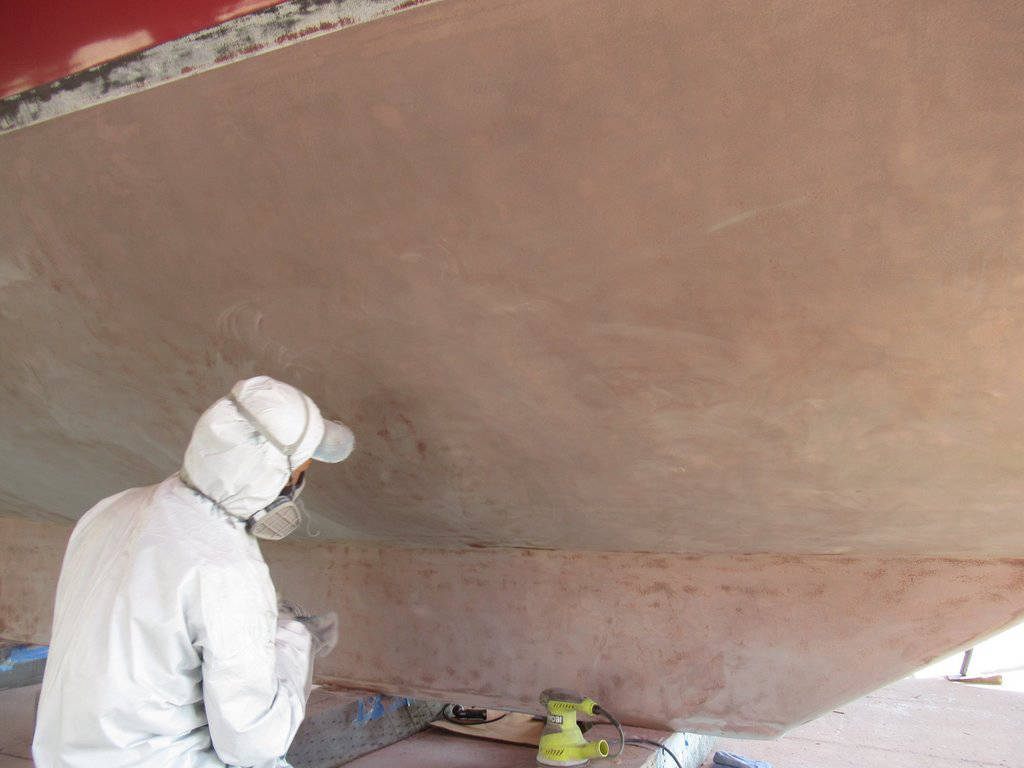
The instructions are very clear that you must abrade the new Coppercoat (after the drying period) in order for it to be effective. However, the Coppercoat USA instructions were (and are) very different from those provided by Coppercoat UK. Coppercoat USA says the product will not work unless the finish is completely smooth with no orange peel. We decided to follow USA's instructions, but it was soon clear that the level of sanding required with 320 grit paper would take hundreds of work hours.
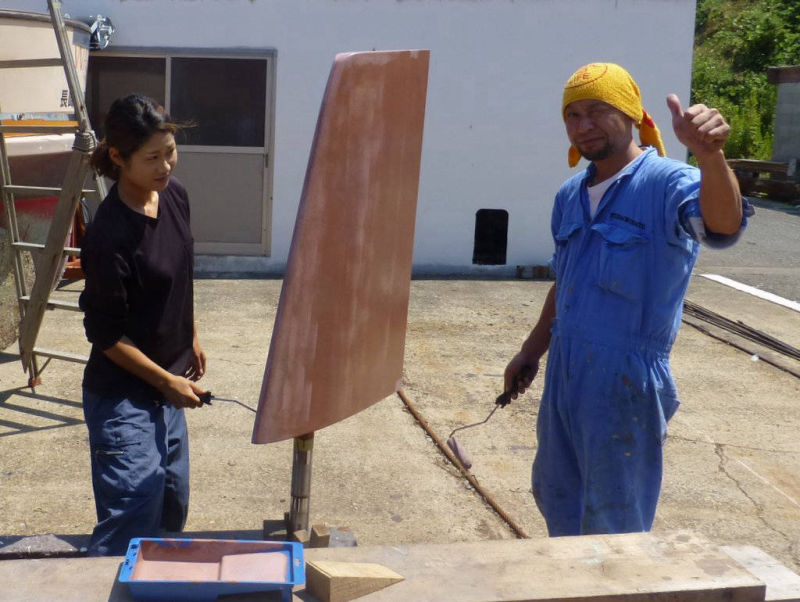
When Coppercoat dries it is very hard. It took me 1.5 hours to do less than 1/2 of the rudder. I used 240 grit on a random orbit sander for a first quick pass and then 320 on a foam pad. At that rate the boat would take well over a week with 3-4 people working every day. The labor bill would be enormous. We explained this to Coppercoat UK asking "Are there any other tips you can give us to help us move along faster? Perhaps the CC was rolled on improperly which is causing the rough surface? I'm also concerned about taking too much CC off in order to get a completely smooth surface."
Their reply was clear (bold emphasis ours).
This was welcome news. We followed the Coppercoat UK's instructions and were able to finish up in a couple of days. We had a few repairs here and there which required a few more days, but overall it was not nearly as difficult as we thought it would be when we were following Coppercoat USA's instructions. Perhaps we were a little too confident... (foreshadowing alert!).


September 2016 - April 2018
Japan, Aleutians, Alaska, British Columbia,
Washington, Oregon Coast, Northern California
We launched Migration on the northwest coast of Kyushu on 4 September 2016. We sailed north and then east into the Seto Naikai (the Inland Sea). We arrived at Tannowa Marina near Osaka in mid-November where we left Migration for the coldest months of the year. In September the water temperature was probably 23-25C (72-77F) but it soon began to drop. We cleaned the bottom in mid-October and then not again until we returned in early March. The water temperature had been 10-15C (50-59F) while we were gone. We have no photos but our notes say "... after 3 months away, pretty darn good." We were pleased.

We left Tannowa in late March 2017 and sailed back west through the Seto Nakai and up the west coast of Japan. Just before we departed Japan for the Aleutians, we cleaned the bottom (on the 30th of May). We sailed under the Golden Gate onto San Francisco Bay on 14 December. We hauled Migration out at Napa Valley Boatyard in mid-January 2018 not having cleaned the bottom since Hokkaido. During this time, the water temp had been between 10-13C (50-55F) and sometimes colder.
We re-scoured the bottom with scrubby pads and touched up a few very small places where the Coppercoat had been scraped away or failed because of the underlying materials (not the fault of Coppercoat).
Overall, we were happy with the performance.
May 2018 - January 2019
Southern California & Baja California
We were back in the water on 9 March, left San Francisco in April and rounded Pt. Conception on 14 May. Now in the warmer waters of Southern California, everything changed. We spent the summer and fall in the Channel Islands and around Long Beach and Los Angeles. The water was particularly warm that year -- we actually saw 26.5C (80F) at Catalina. However, the water was usually around 24C (75F).
With the warmer waters, we had immediate barnacle growth. We were often at anchor in the clear waters of the Channel Islands but we did spend a lot of time in the Alamitos Bay Marina in Long Beach. However, Migration never sat for long as we had many guests and there was much sailing between the islands and various marinas.
We were forced to clean the bottom every 4 to 7 weeks. If we let it go too long we had a lot of growth... both soft and hard.
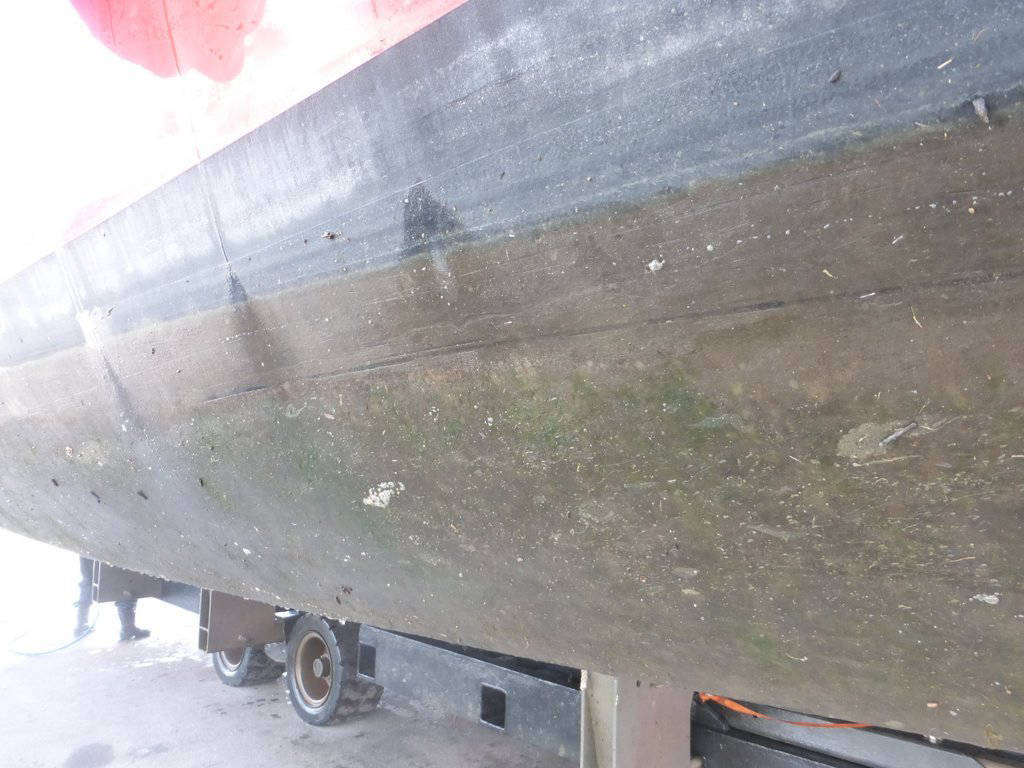
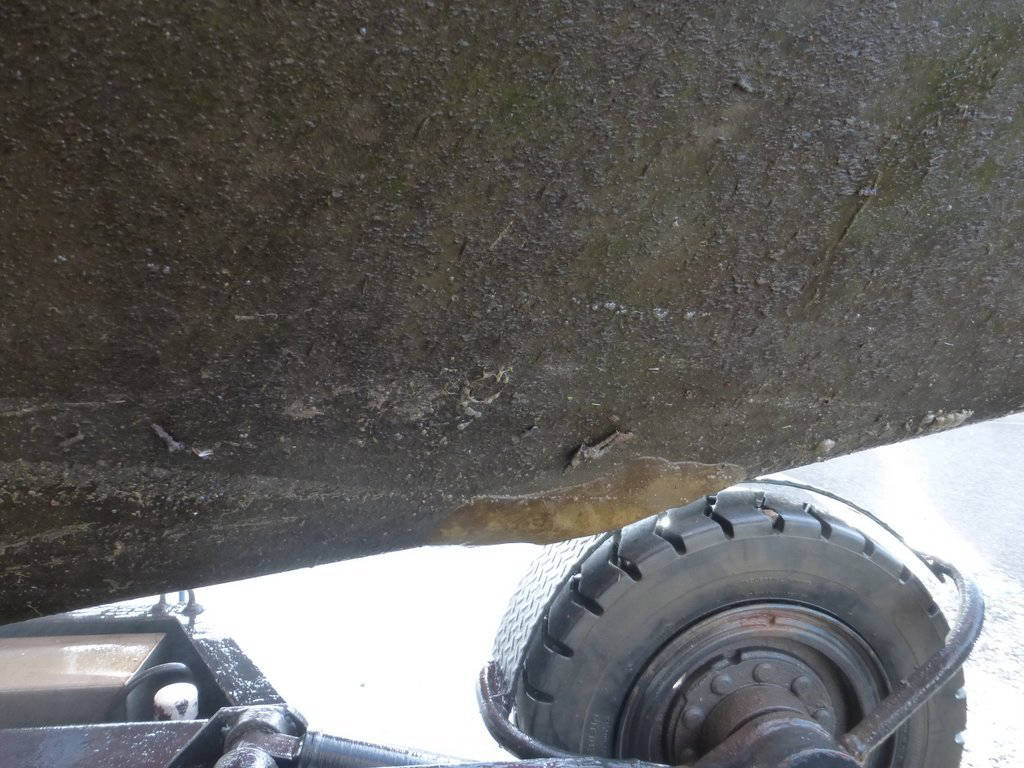
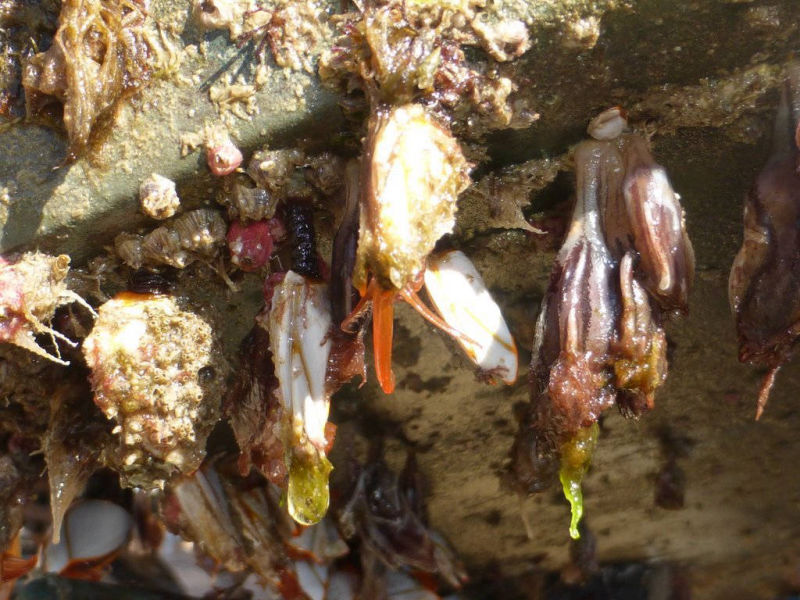
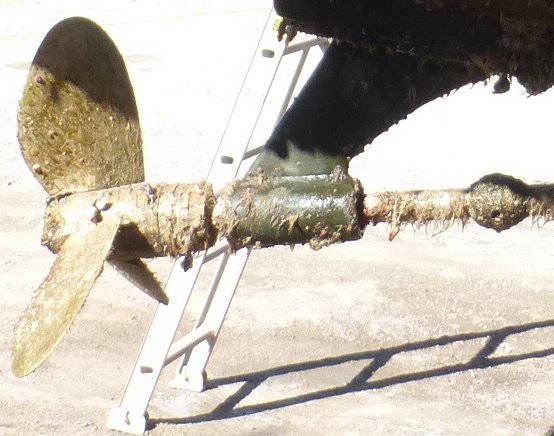
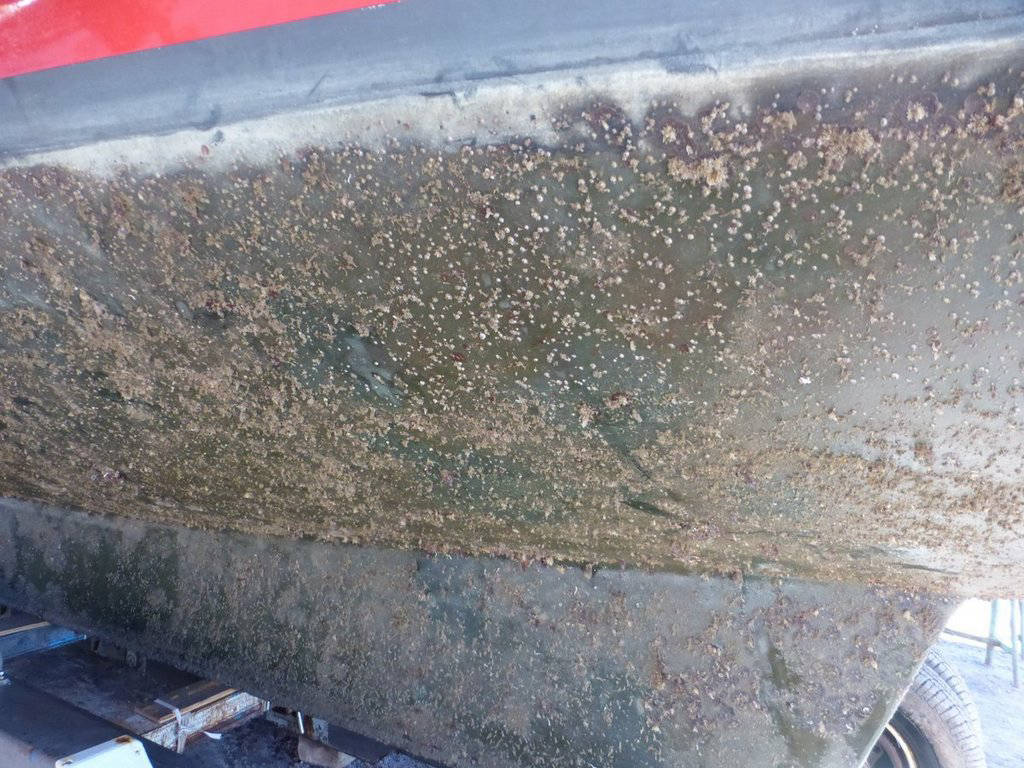
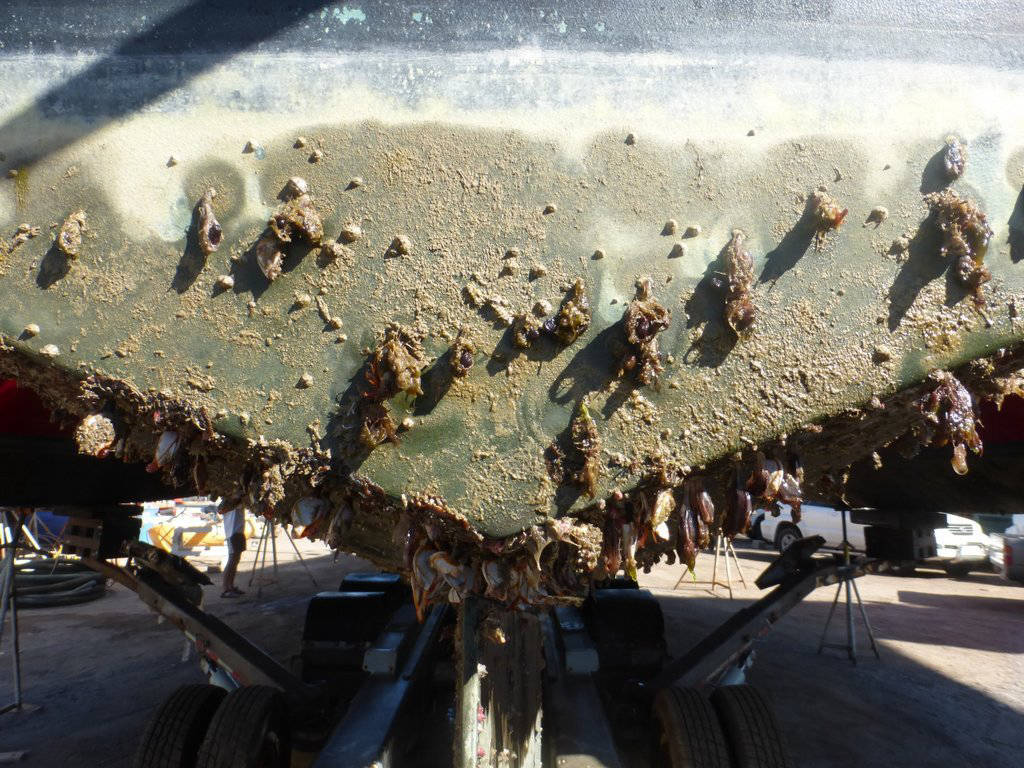
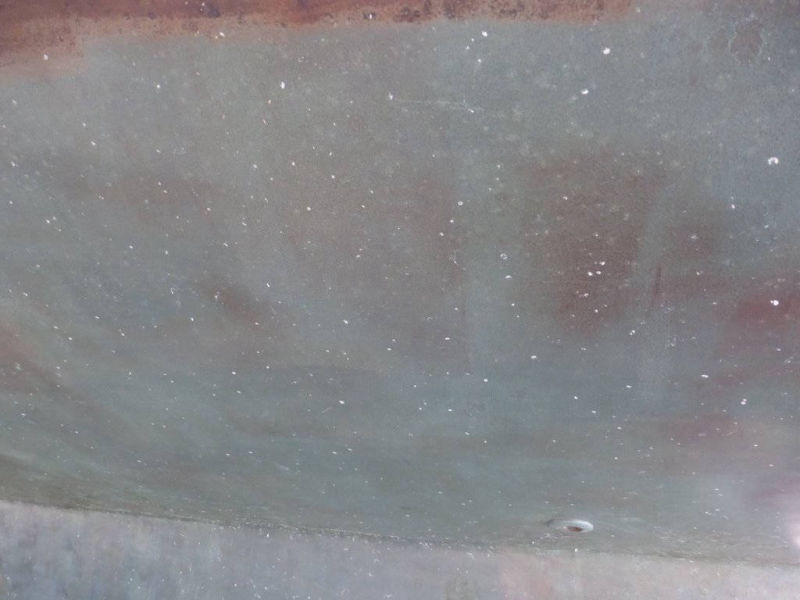
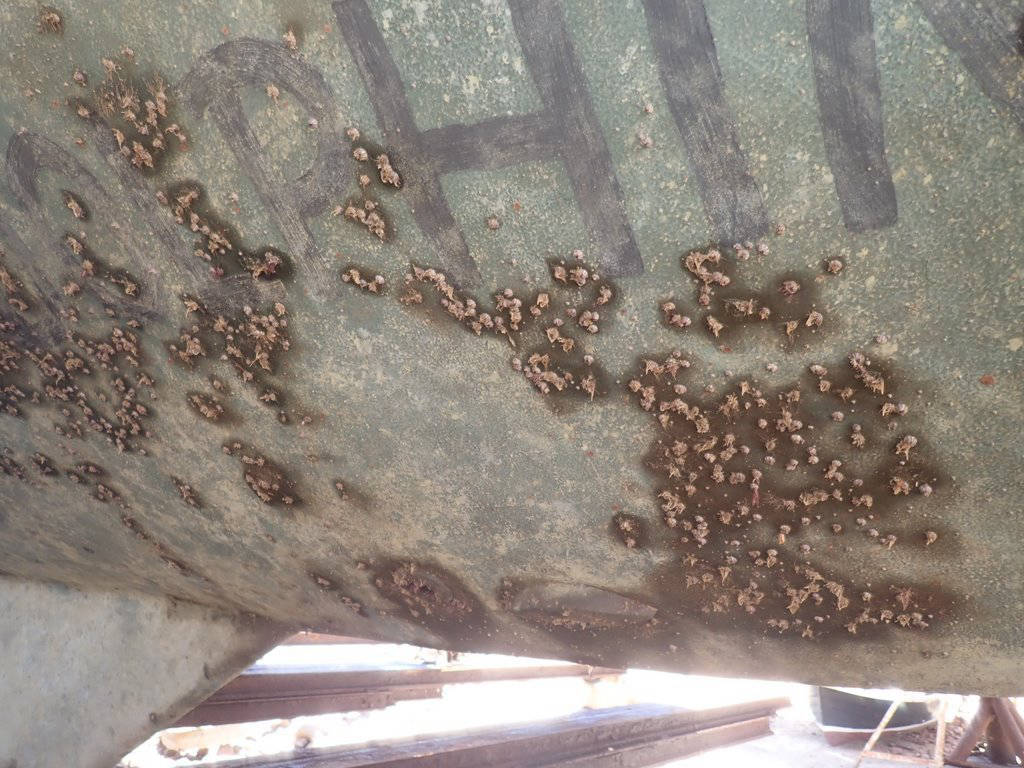
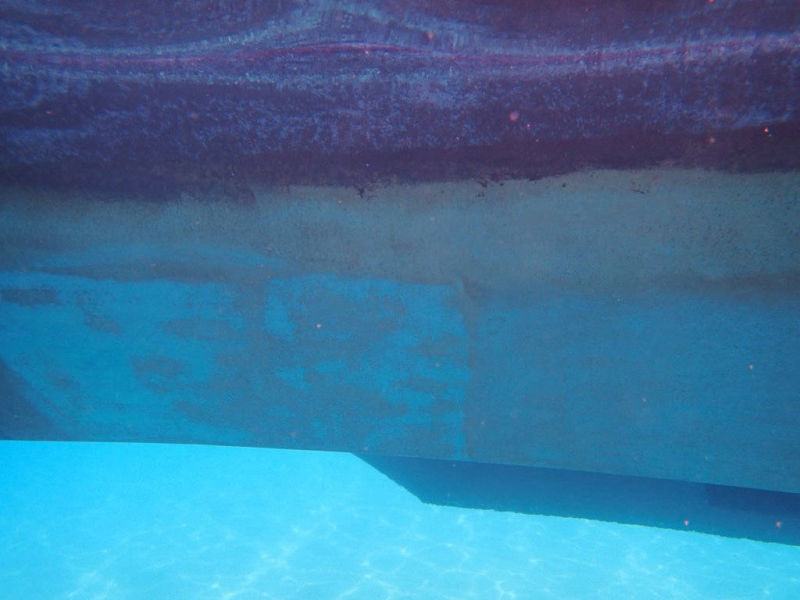
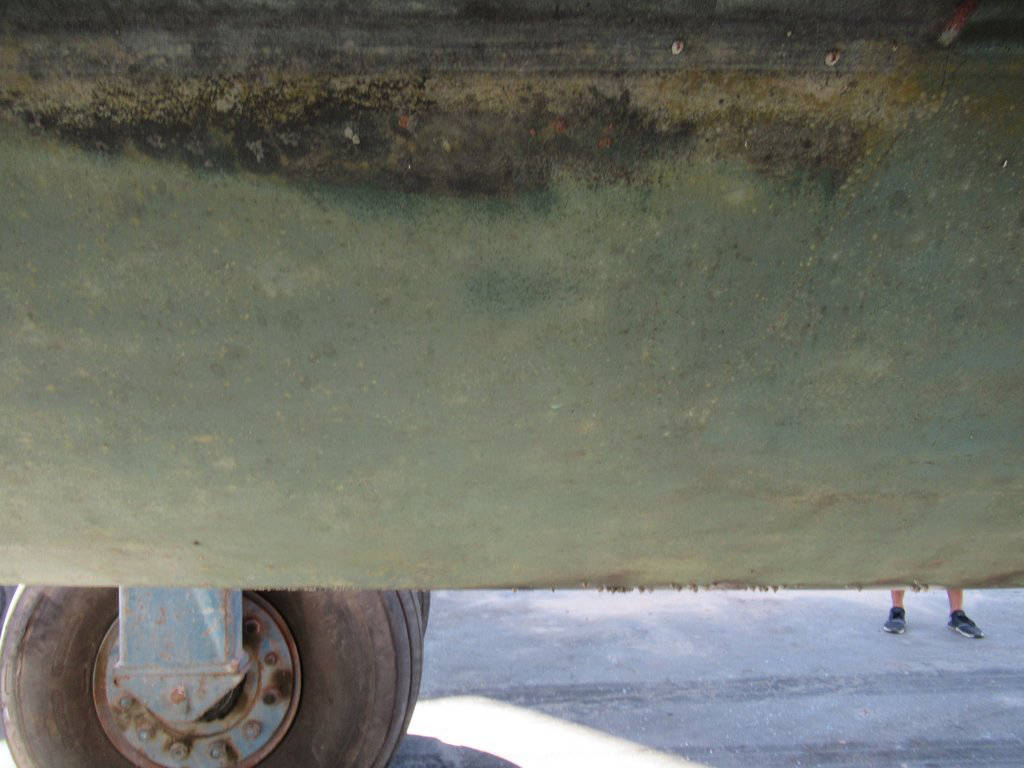
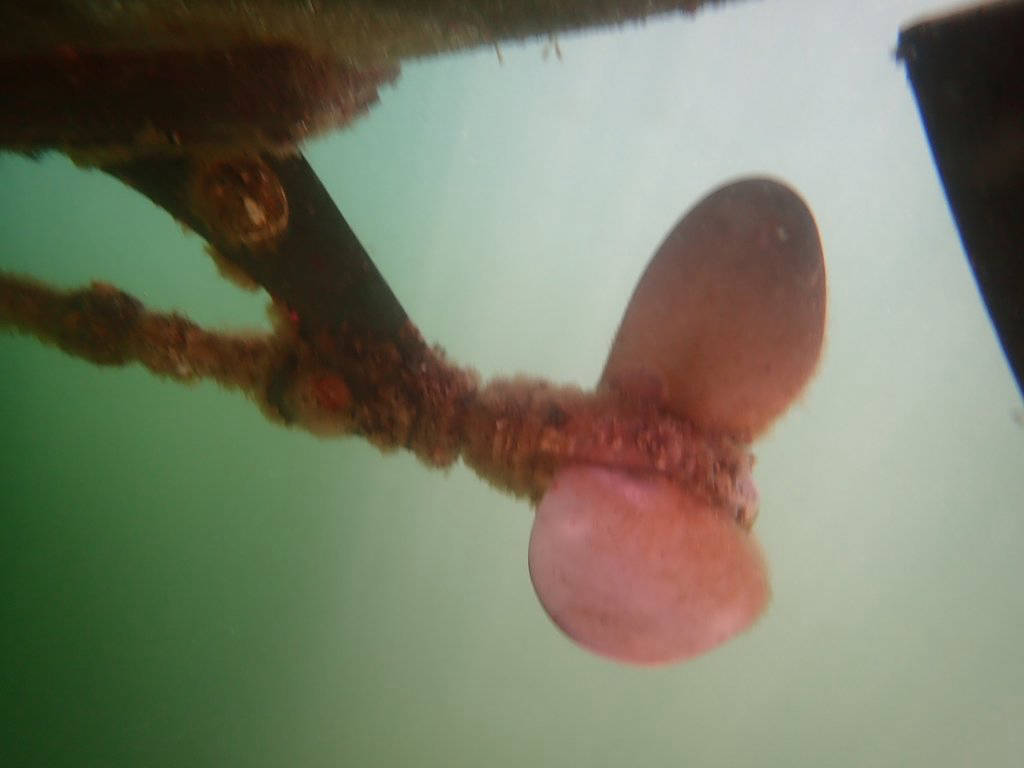
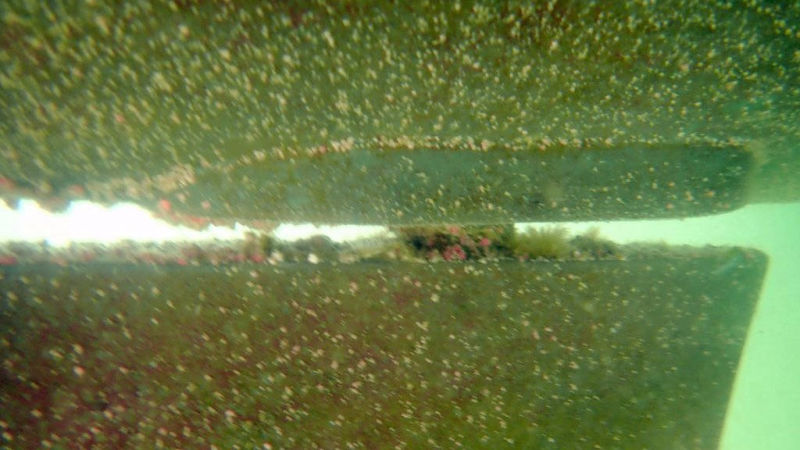
In late November we left San Diego for Mexico, arriving in La Paz in December. We left Migration at Marina Cortez while we travelled back to the USA for the holidays. On 11 January 2019, we hauled Migration at Talleres Navales Bercovich. The bottom had last been cleaned about 11 weeks before. La Paz is known for excessive growth. The bottom was a total mess. (Notice how the bottom is not any better than the unprotected propeller.)
January - March 2019
La Paz, Mexico
We sent photos of the bottom to Coppercoat UK and asked for advice: "Can you please advise if there is anything we can do to improve the performance of Coppercoat? We are heading to even warmer waters in the South Pacific and need to decide whether or not we should cover the Coppercoat with conventional antifouling rather than deal with unmanageable bottom growth."
Here is the response we received:
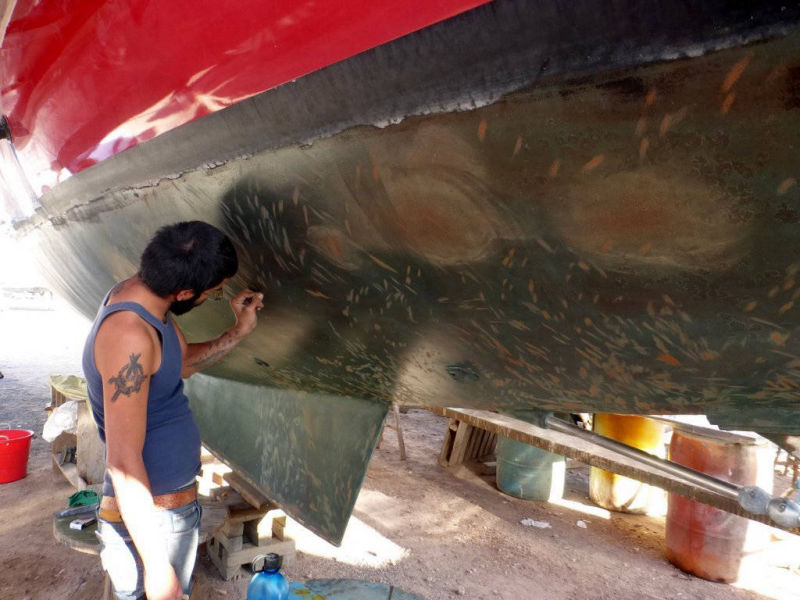
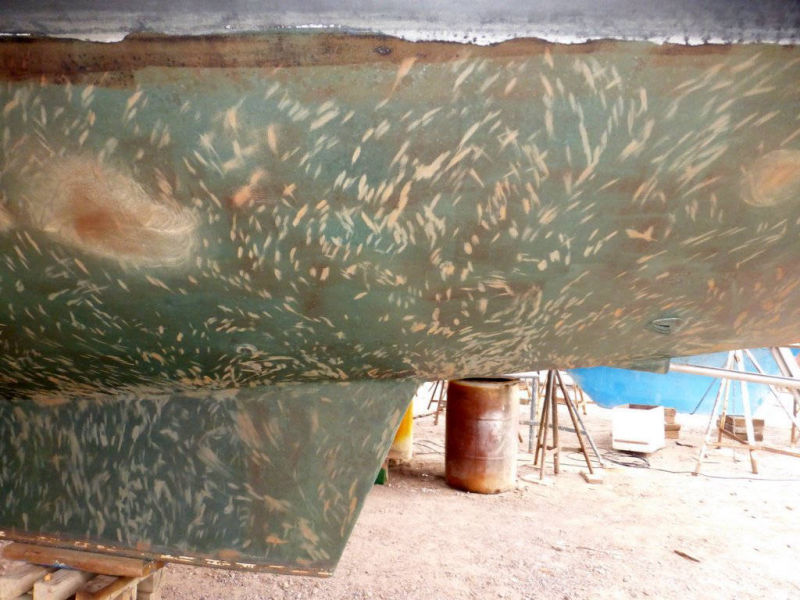
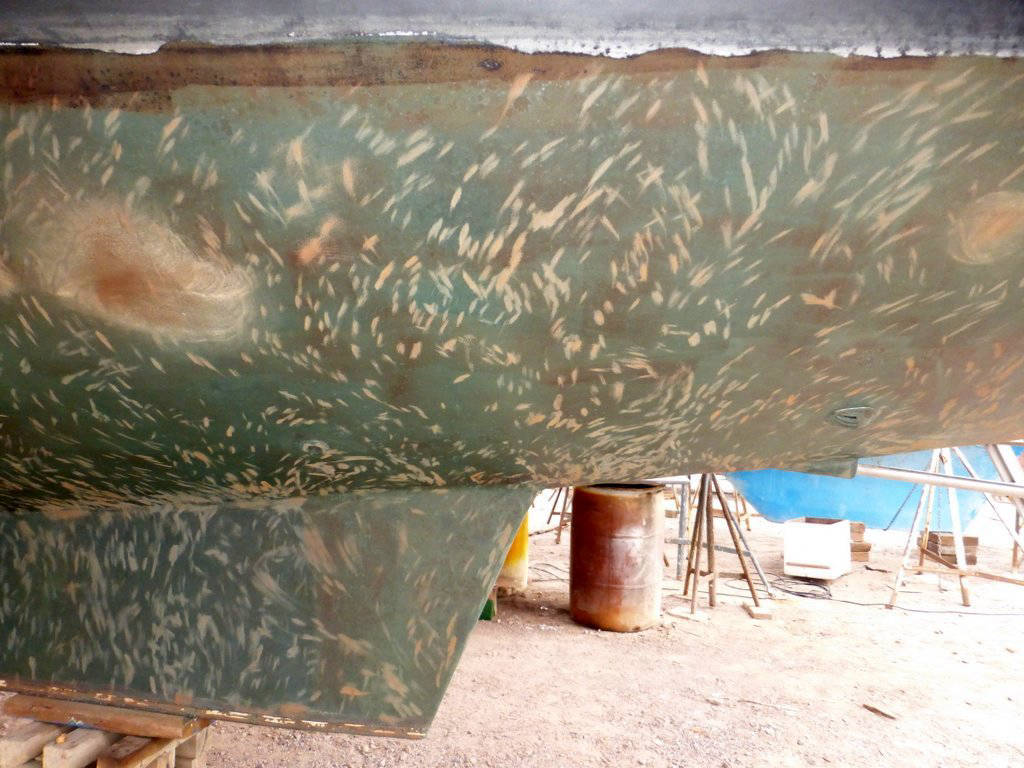
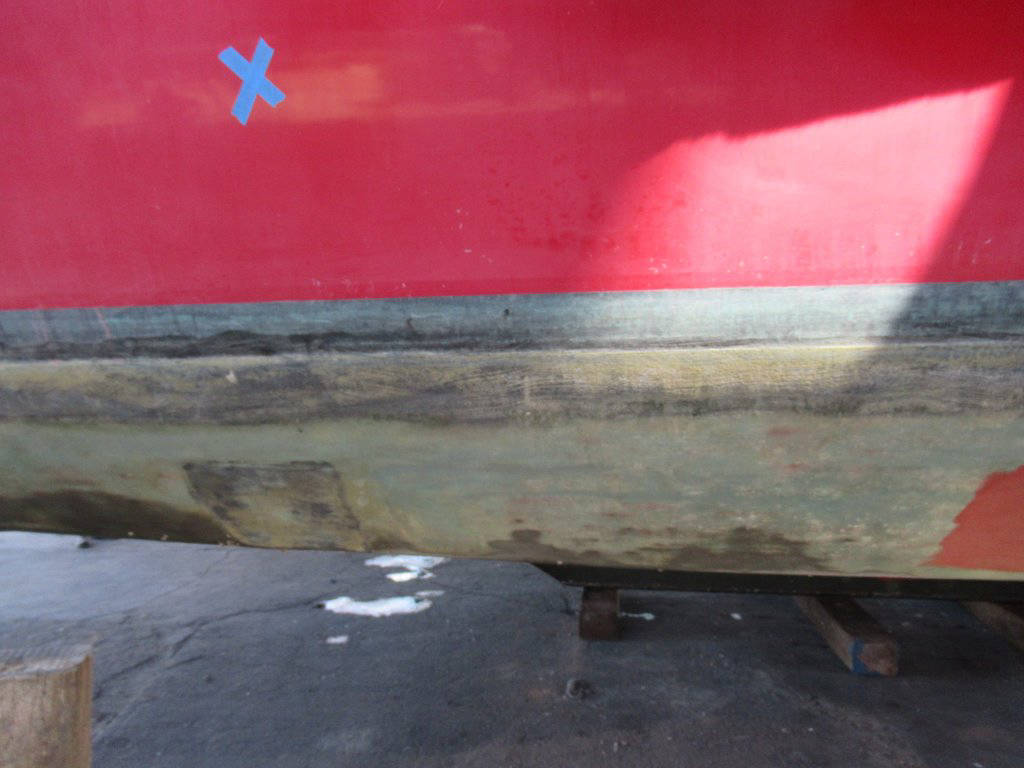
This was not the answer we were looking for but we thought we would burnish with 400 grit sandpaper, though we ended up using 240 to 320. However, first we had to remove the barnacle feet. Coppercoat UK recommended brick cleaner or bathroom/limescale remover. Neither worked. We tried varying strengths of acid and found that was also ineffective. In the end, we hired someone to hand sand every single barnacle foot off the hull. Then we gave the entire hull a light sanding per instructions.
March - June 2019
Sea of Cortez, Banderas Bay, & Islas Revillagigedos, Mexico
We were in the water and out of La Paz by the first week of March. The next 12 weeks included three 300+ mile passages, 3 weeks in Paradise Village Marina in Nuevo Vallarta (another notoriously bad location for excessive growth), 4 weeks anchored in the pristine clear waters of the Islas Revillagigedos, and 10 days in Marina de la Paz. The water temperature was usually 23-25.5C (73-78). We did a thorough cleaning of the bottom on 10 May while at Isla Socorro. When we hauled the boat in La Paz only 4 weeks later (having spent only 10 days in Bahia de La Paz), we were astonished at the amount of growth -- especially since so much of the time since the last cleaning was in the clear waters of the Revillagigedos or underway.
June 2019
La Paz, Mexico
We were disheartened. We sent photos and explained the situation to Coppercoat UK: "... As I probably mentioned before, Coppercoat worked fine in the cold waters of Japan, Alaska, British Columbia and the Pacific Northwest of the USA. However, since we have come to warmer waters, we have had continual problems. I am most surprised at this since it is such a short time since we sanded and exposed new copper in February/March.
We are trying to decide if we should simply give up and paint the bottom with antifouling paint. We have invested a lot of time and money in Coppercoat and had high hopes for the product. However, as we will next be sailing to and staying in French Polynesia for several years, with minimal opportunity for hauling our boat (since we are a trimaran), we need to make the proper decision. Any forthright advice you can offer will be most appreciated."
Their response was as dissapointing as the performance of their product:
Our next email to Coppercoat UK was as clear and concise as we could make it:
"... I was hoping you could explain the issues we are experiencing in such a way that we can make a decision. I would like to hear one of the following:
A. There has been a mistake with how the Coppercoat is being treated and here is how to fix it.
or
B. This is not how Coppercoat should be working, but there is no clear reason why.
or
C. This is exactly how Coppercoat should work and the level of hard growth is not surprising.
I believe you may have given me 'C' as an answer, but I would like to make sure.
We have absolutely no problem cleaning the bottom of our hull; we have been doing it for years. And it is easy to do one portion of the hull every time we snorkel, which is quite frequent when we are in locations that allow it. Wiping soft growth off of the Coppercoat is easy, and very satisfying. However, trying to remove a good deal of hard growth that appears in only 3 weeks is another story. Especially when it leaves calcium deposits which are so difficult to remove. We were under the impression that we would need to remove soft growth regularly, but that Coppercoat would keep barnacles and other hard growth away for several months.
If our expectations are incorrect, and the performance we have seen from Coppercoat is what we should expect in the tropics, then we definitely have to reevaluate."
Their response was wishy-washy and not in the least helpful:
Now we were very unhappy. We felt that Coppercoat UK, the manufacturers of the product, didn't even know when and why their product worked and were just falling back on marketing BS.
We surprised ourselves in not being willing to give up yet... we had put so much effort, time, and money into the product. So I called Jim Edwards of Coppercoat USA and discussed the situation with him. His response was the exact opposite of Coppercoat UK: after seeing photos he unequivocally stated that the Coppercoat had never been sanded enough and we would never have good performance in warm water unless we sanded per the instructions he provides.
However, sanding the bottom to that level would have been very expensive and taken a long time. We decided on a different course of action.
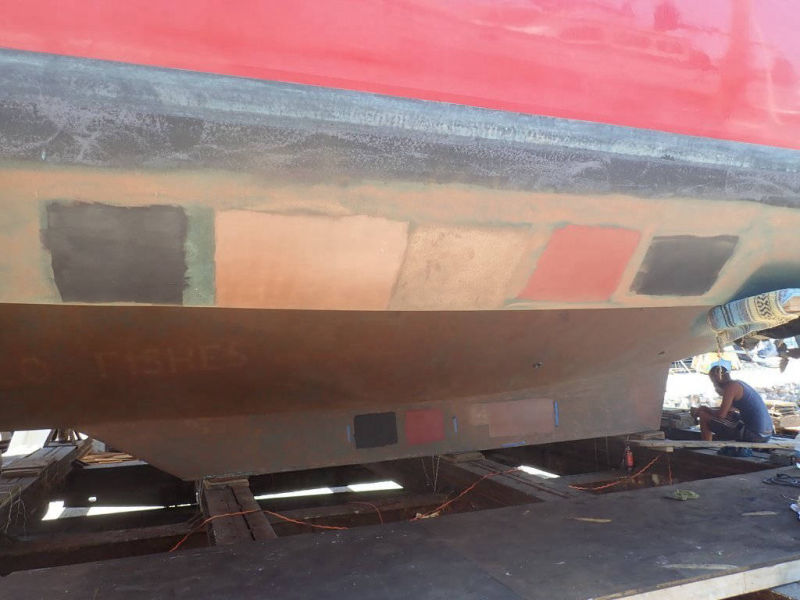
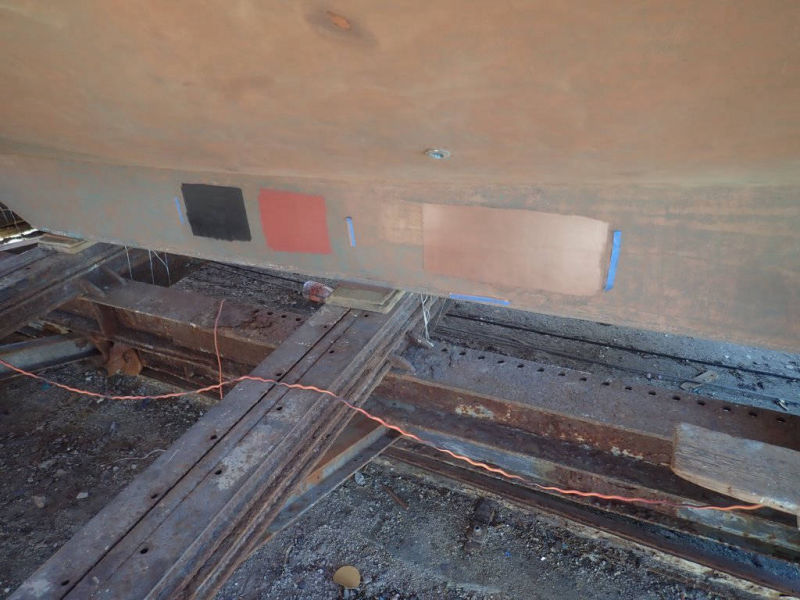
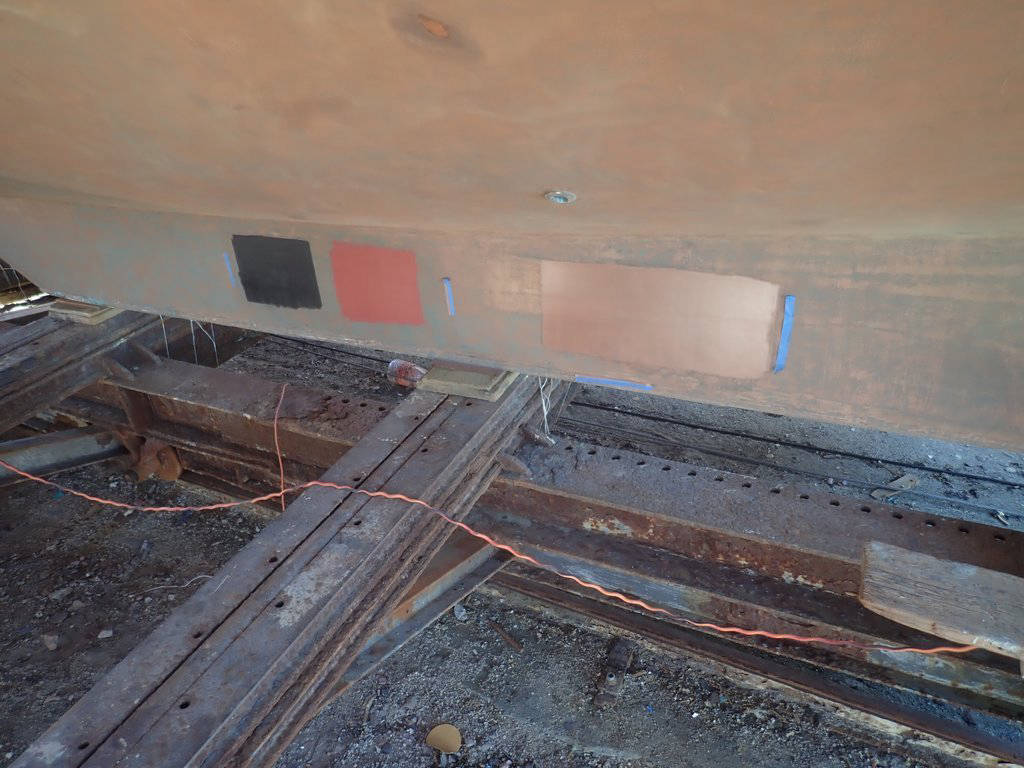
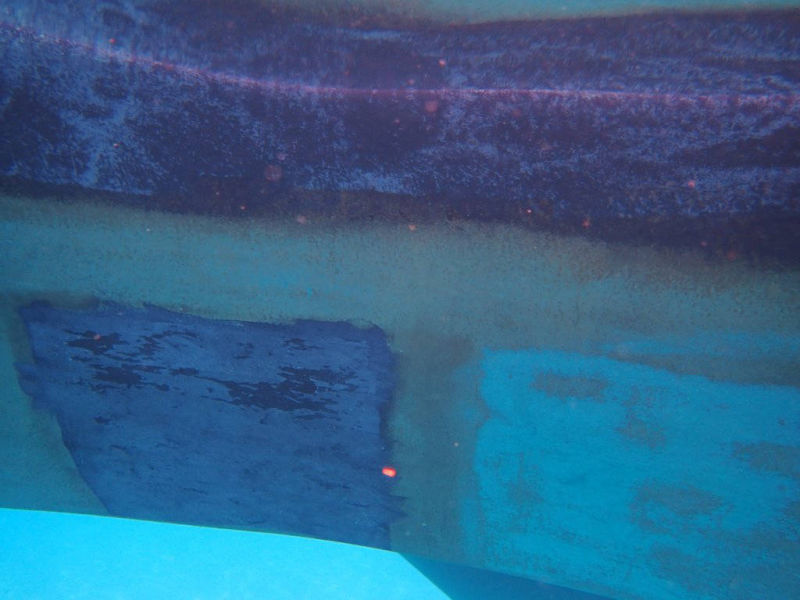
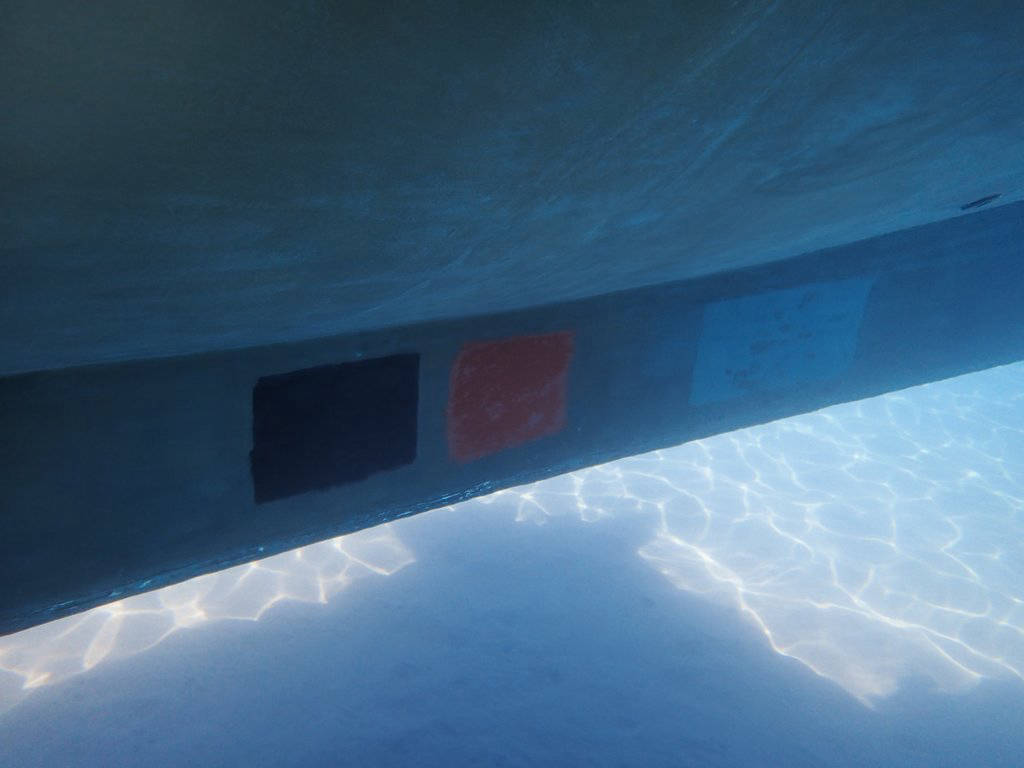
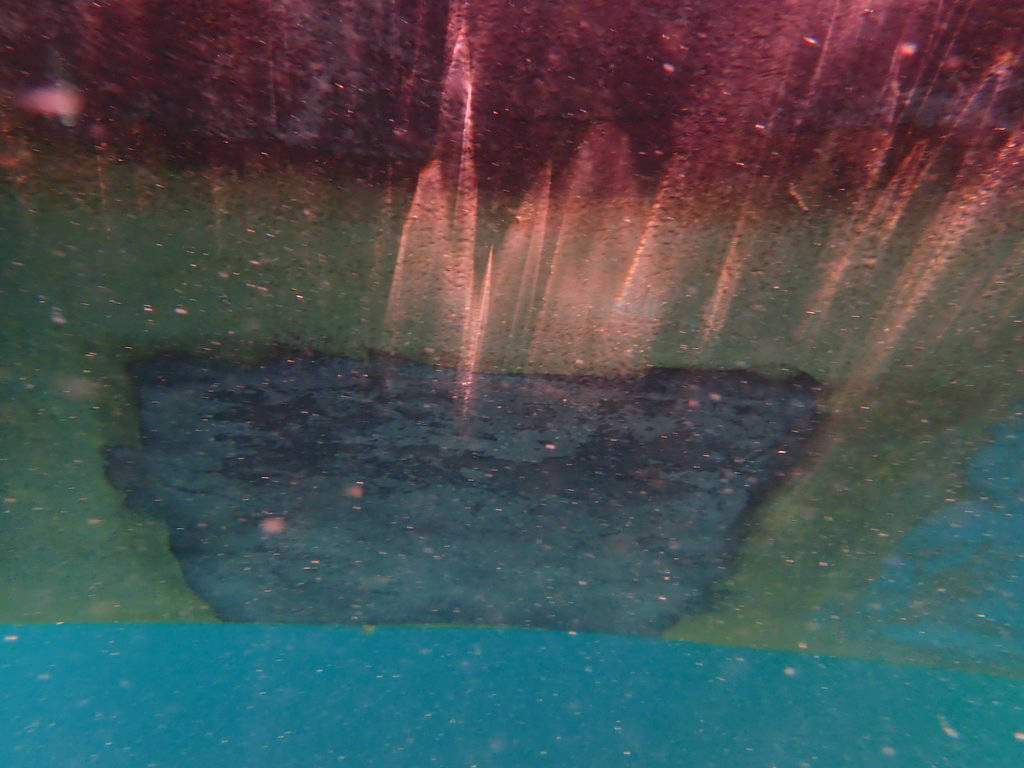
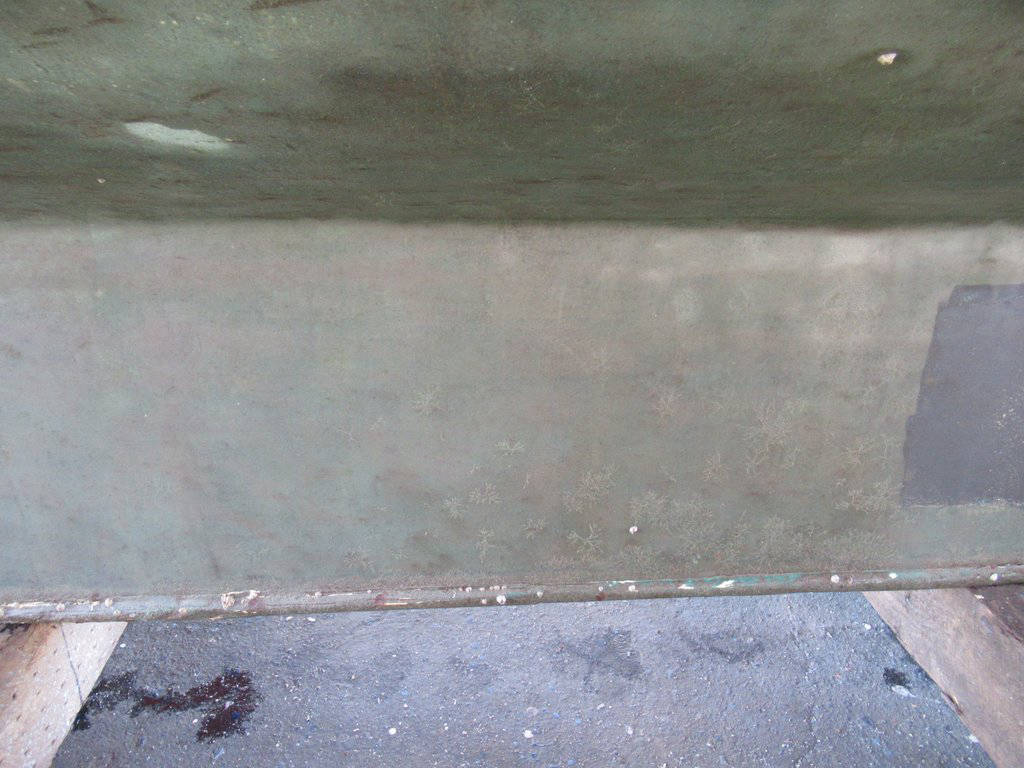
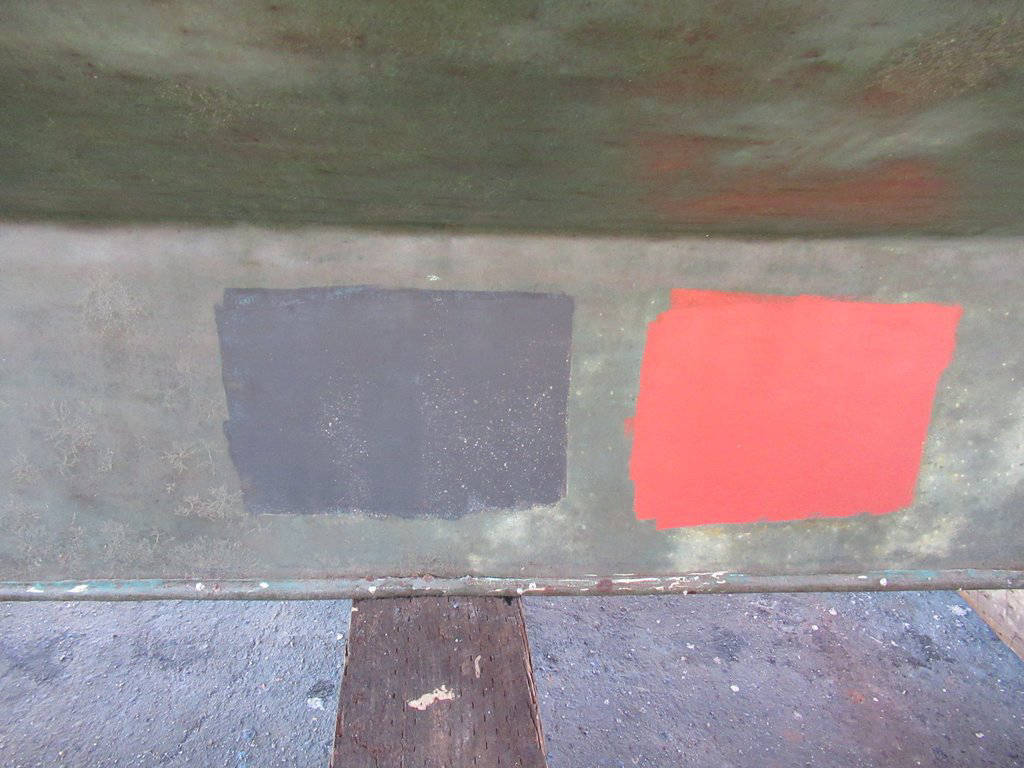
We'd just completed a 1 x 4 meter repair to the inboard side of the port hull -- most of it below the waterline. That area would have new Coppercoat applied and we would sand per Coppercoat USA's specifications. We also chose areas on the other five sides of Migration's hulls (remember, she's a trimaran), and applied various squares of the following:
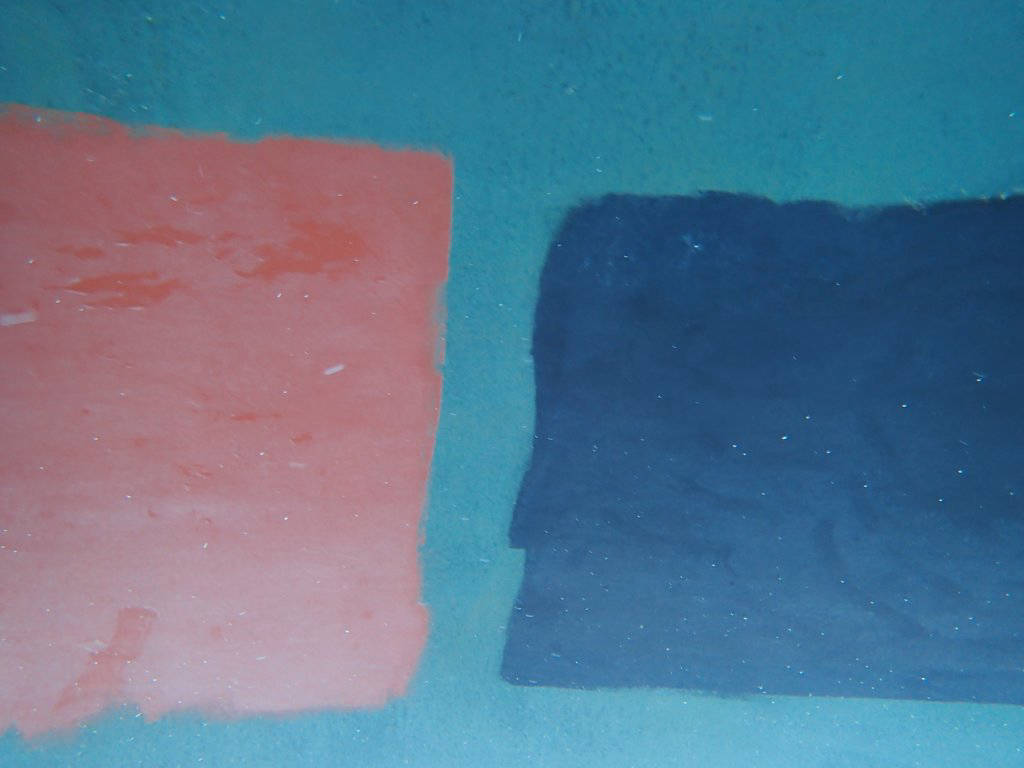
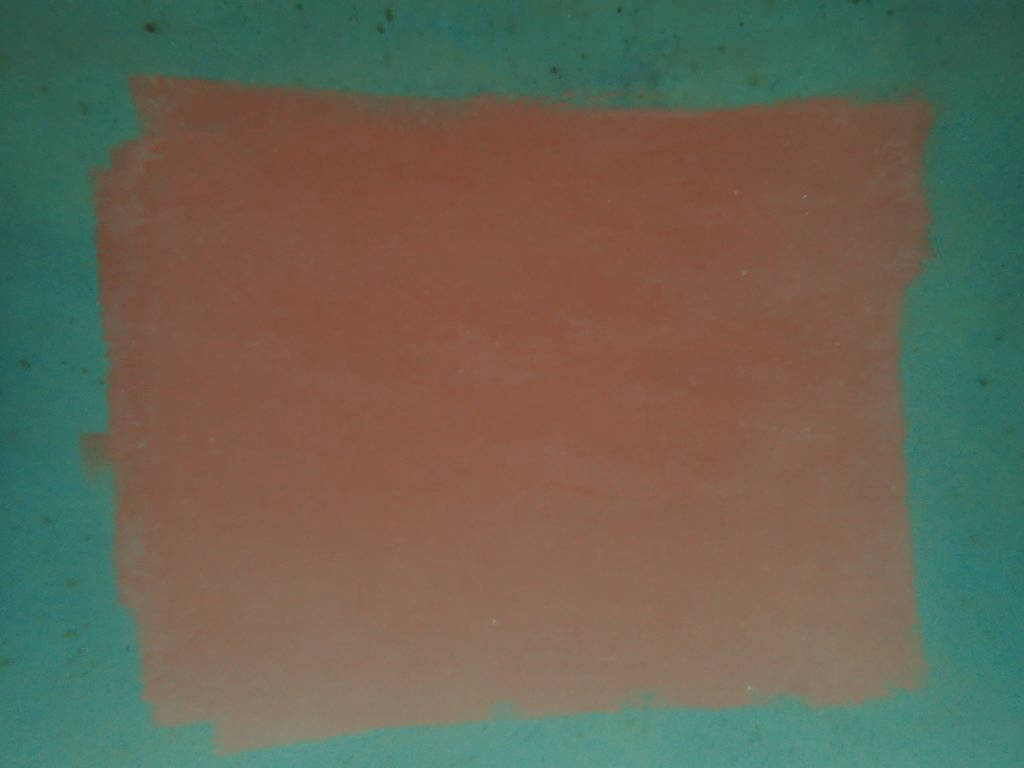
1. Red Jotun bottom paint
2. Black Hemple bottom paint
3. Black Comex ABC3 bottom paint
4. Original Coppercoat sanded as smooth as possible with 120
5. Original Coppercoat sanded with 120, then two additional coats of Coppercoat applied and sanded smooth with 320
Additionally, there were several areas (e.g., part of the rudder) where we sanded the original Coppercoat with various grits from 120 - 240. We also checked the entire hull and sanded out all runs from the initial application.
We planned to sail for several months in the Sea of Cortez and we felt this test would provide us enough information to make a decision on how to proceed.
There are a lot of photos below, all of which are not required to understand our process, but we wanted to document the process to prove that we were taking this test seriously.
July - September 2019
Sea of Cortez, Mexico
Excellent results but it's only been 20 days. Hardly any growth even though the first 10 days were spent in a marina in the high-growth area of La Paz. The water temp was still on the cooler side (<25C) of the range we would experience during the summer.
After six weeks we started to see growth -- barnacle, soft growth, and algae -- on the parts of the hull with the original Coppercoat. However, the areas with new antifouling, the sanded old Coppercoat, and the new Coppercoat seemed to be holding up well.
 Port ama outboard has some growth on original coppercoat
 Port ama outboard growth
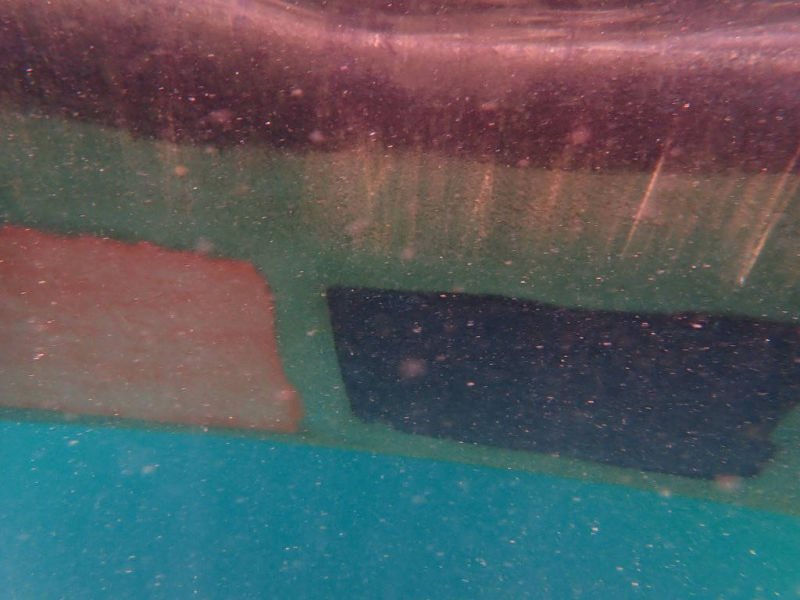 Port ama outboard test panels are pretty clean


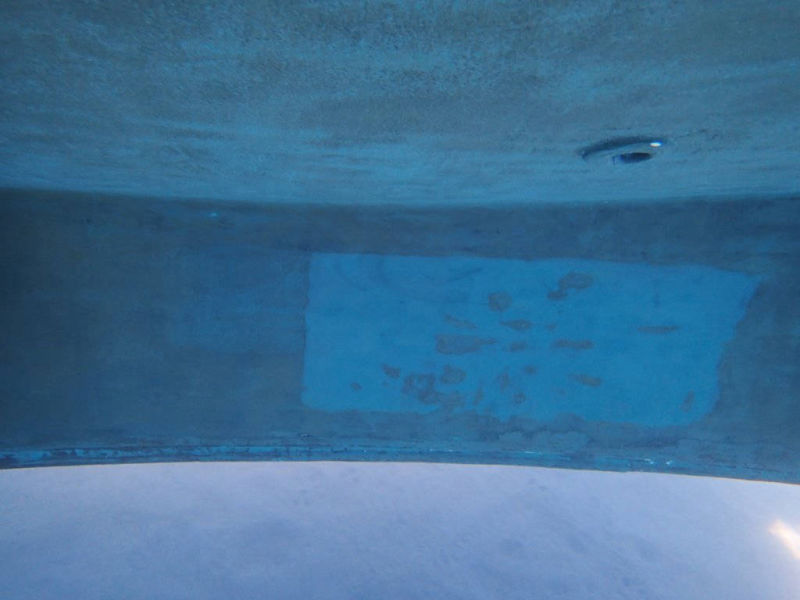
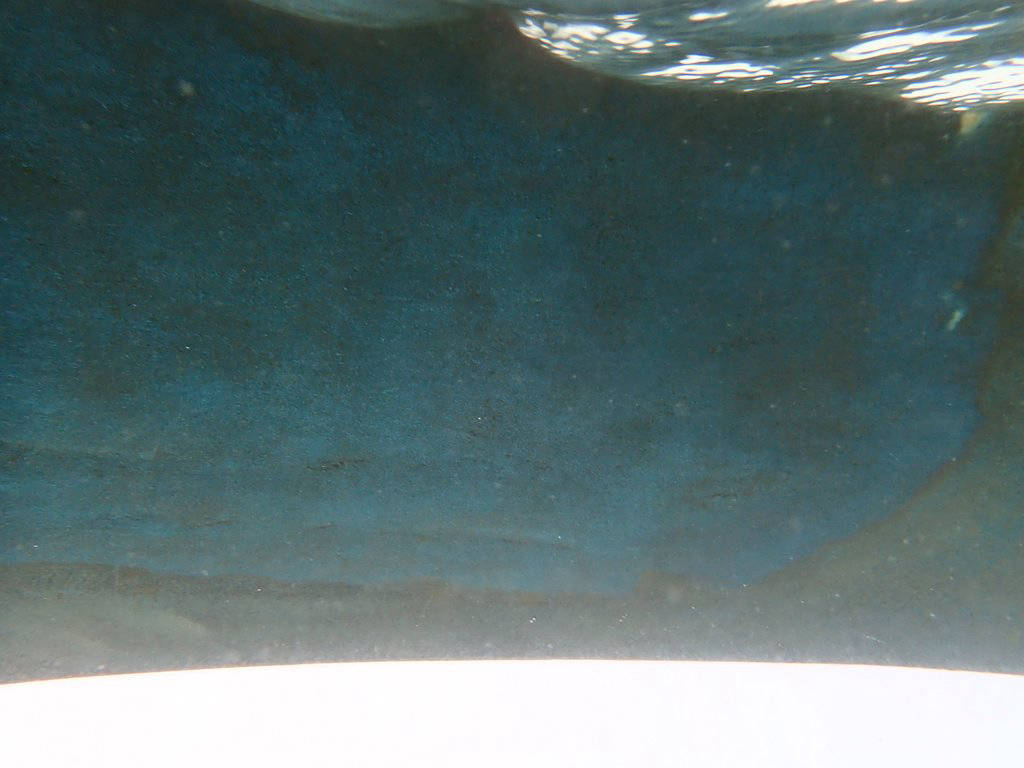
 The port ama inboard new Coppercoat is clean
 Keel is clean
 Keel
Keel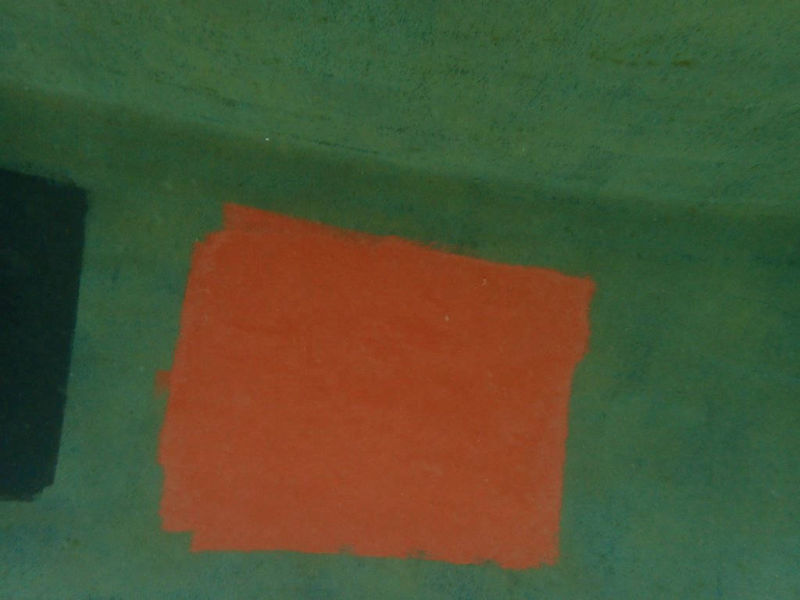 Keel
Keel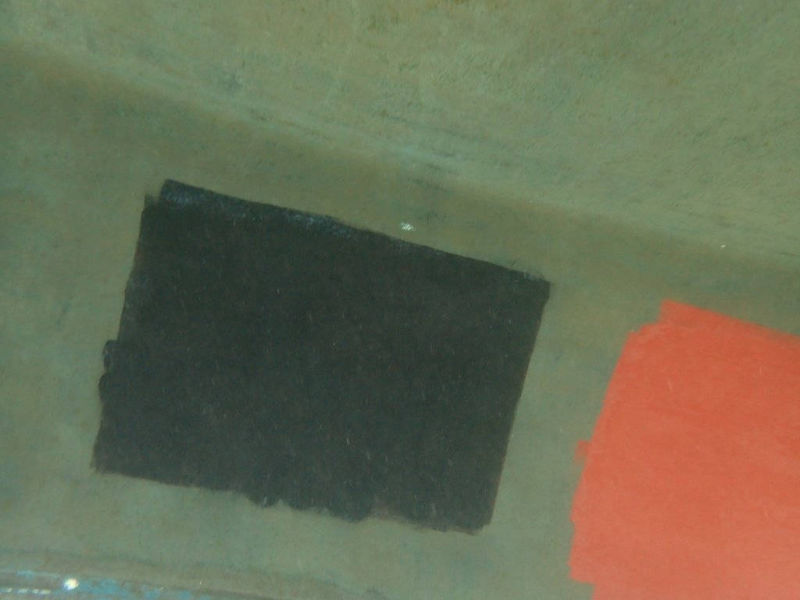 Keel
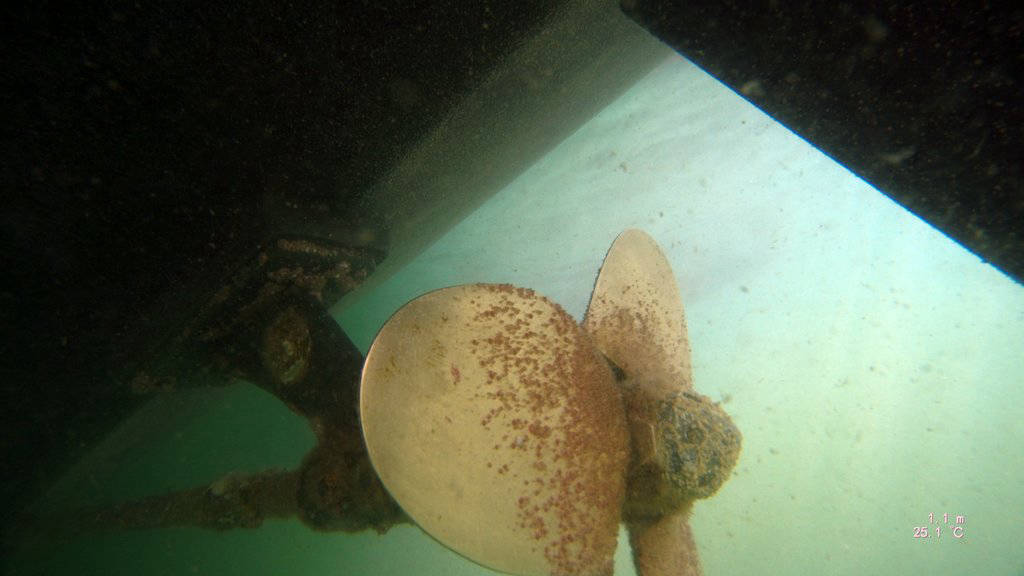
Keel Unprotected prop and shaft for comparison. Growth starting on Coppercoated strut
 Hard and soft growth starting on rudder
 Rudder
 Barnacles and algae taking hold on original Coppercoat on bottom of starboard ama
 Starboard ama
 Starboard ama
 However both Coppercoat test panels on outboard of starboard ama doing well
 Starboard ama Coppercoat test panels
The trend we saw 3 weeks ago continued with hard and soft growth on the original (poorly sanded) Coppercoat, and good results from all test panels. The antifouling paints were performing exceptionally (as you would expect from brand-new antifouling). The test panels with the original Coppercoat sanded with 120 grit were not performing as well as the newly applied Coppercoat sanded with 320 or 220.
 Growth on original Coppercoat
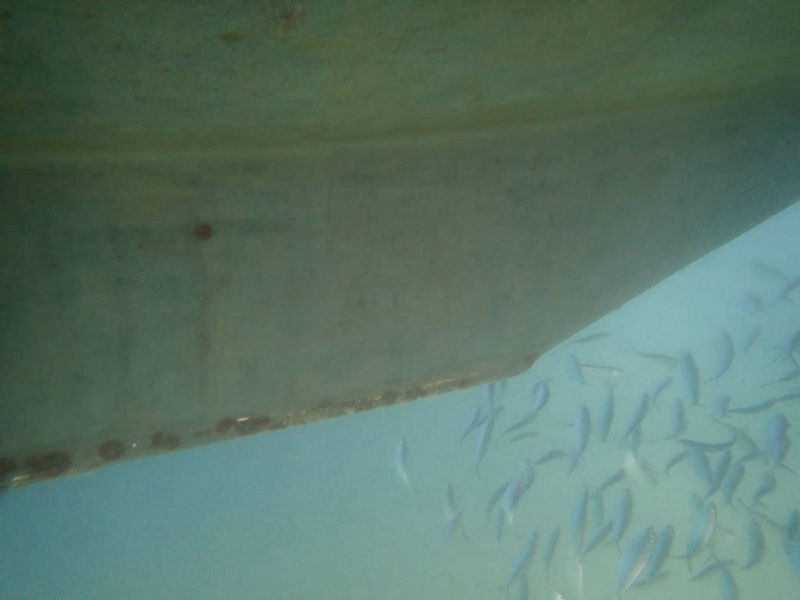
 Scale
Scale Areas like this around the keel that are very difficult to sand had a lot of growth
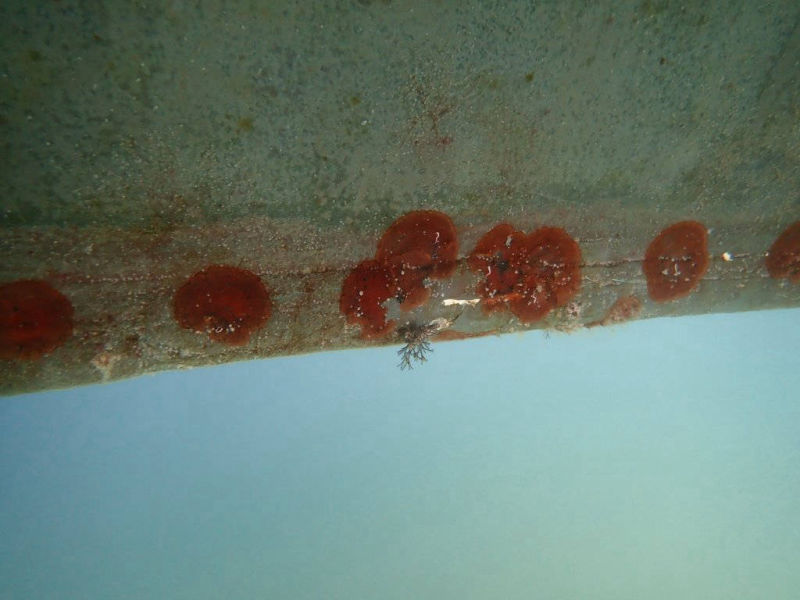
 But even some areas that were easy to sand had growth
 New Coppercoat on keel
 Newly sanded Coppercoat on keel
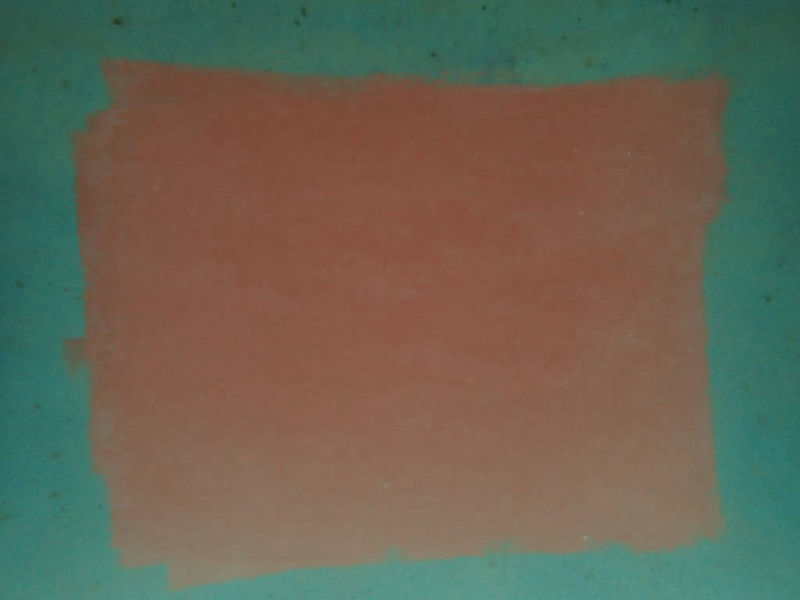 Jotun on keel
 Hemple on keel
 On the rudder it is very easy to see the difference between well-sanded and original Coppercoat
 Rudder results
 In the shady area on the starboard side of the main hull, the sanded original Coppercoat is showing algae growth
 But the new well-sanded Coppercoat is clean
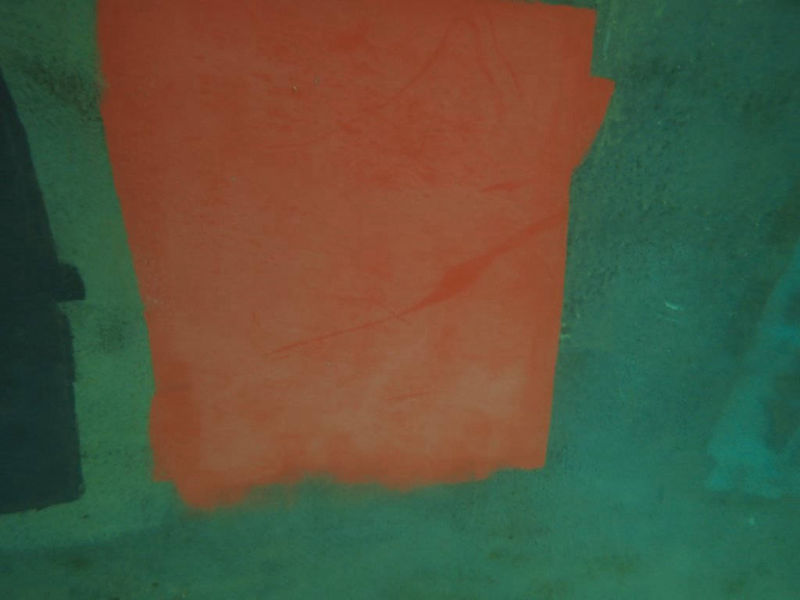 and Jotun
 As is the Hemple
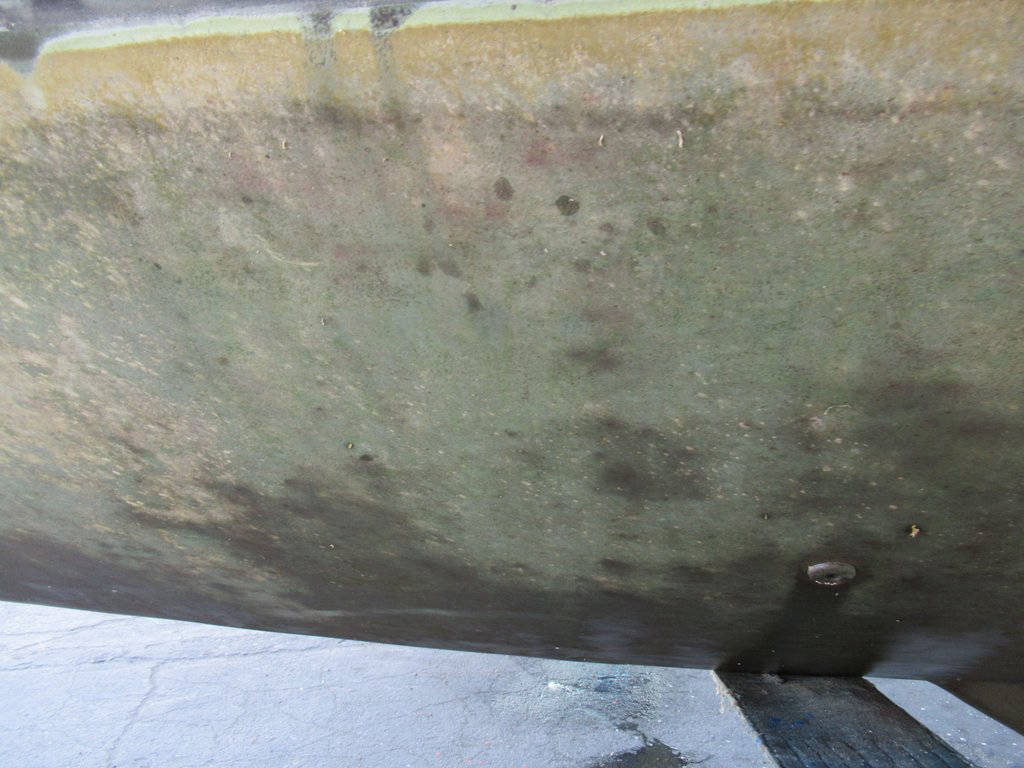
We hauled Migration out in Puerto Peñasco on 14 September. Overall, the growth wasn't that bad. Hard growth was rarely seen on the test panels. The soft growth was definitely less on the areas of Coppercoat that had been sanded. The areas with the original (poorly-sanded) Coppercoat had a lot of algae growth.
 Notice these test panels are completely free of all growth.
 Hard growth on the old Coppercoat
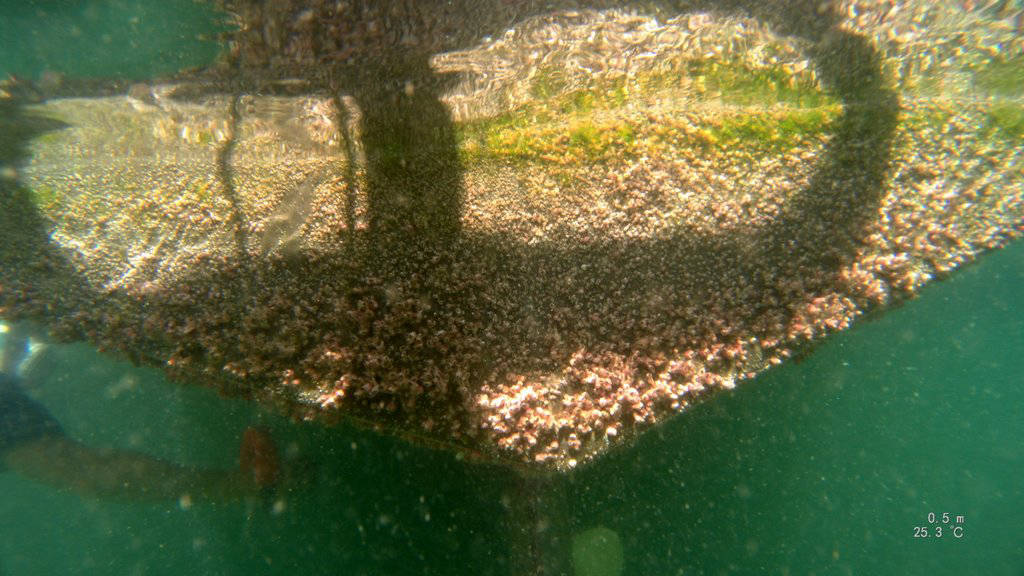
 Soft growth covered the entire hull
 Spots of hard growth
 Look at this photo carefully and you can see the stripe where the rudder was sanded
 Keel with some hard growth
 Keel
Keel Keel
Keel Keel Coppercoat test panels
 Lots of algae growth
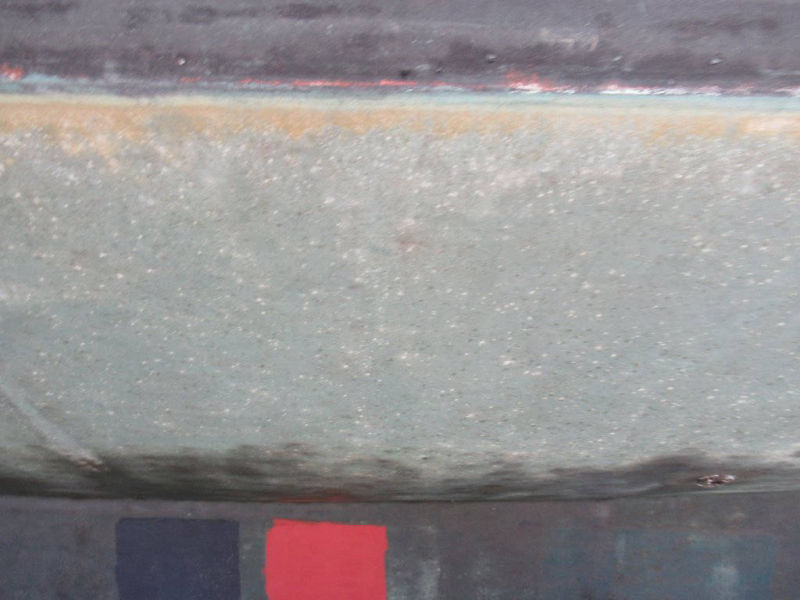 Hard to see but some barnacle growth
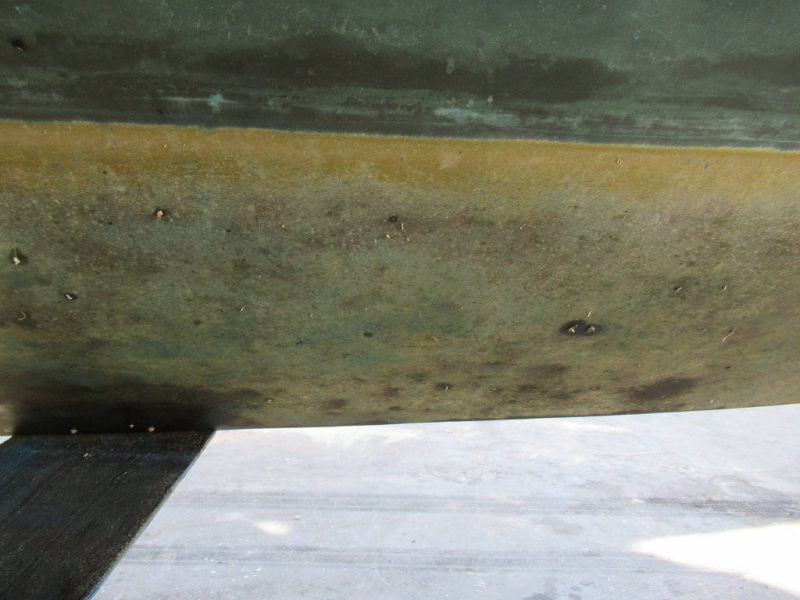 Some barnacles and algae on main hull
 Lots of barnacles on bottom of port ama
 More barnacles on bottom of ama
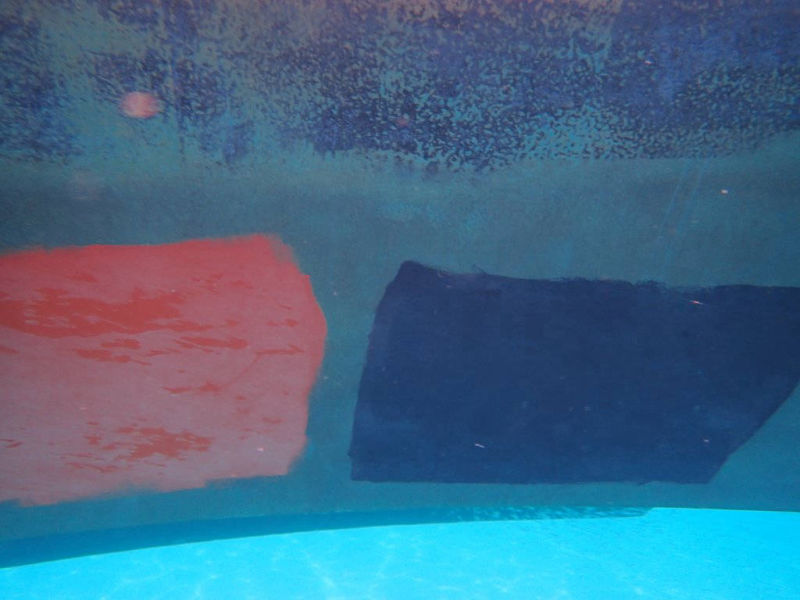
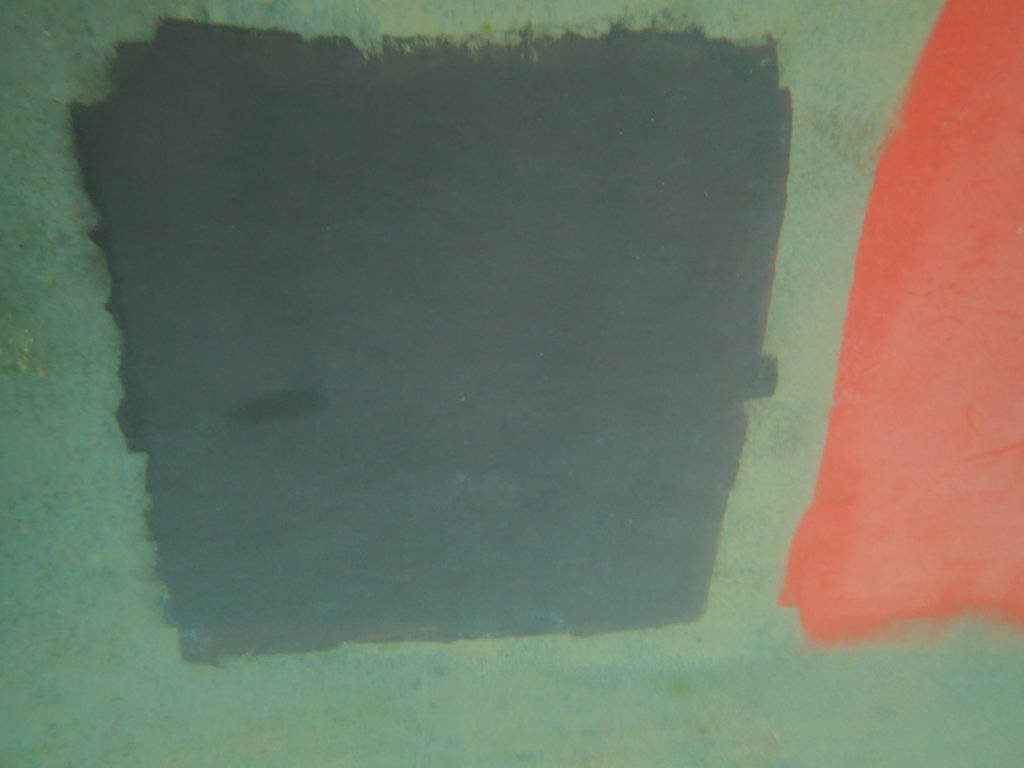
 Port ama: to the right of the black ABC3 is the new Coppercoat followed by the sanded old Coppercoat. You can see the difference if you look carefully.
 Difference between Jotun & Hempel
 Some scale on port ama
 Hard growth on old Coppercoat right next to antifoulding test panel
Eleven weeks is not a long test -- especially in the clear waters we were sailing through. The results did not provide a clear and obvious path, but we did reach some conclusions.
1. New bottom paint is far more effective than Coppercoat. There was practically no growth on the antifouling. But if antifouling paint doesn't work after only 11 weeks, it is pretty ineffective paint.
2. Red Jotun is more effective than black Hempel which is more effective than black ABC3.
Most importantly, it seemed that:
3. The smoother an area of Coppercoat is sanded, and the finer the grit of sandpaper used, the better it will perform.
October - November 2019
Puerto Peñasco, Mexico
Though our test period was shorter than we would have liked, the results indicated that Coppercoat might be effective if sanded to Coppercoat USA's specification. We decided to invest the time and money required to do just that.
We wrote to Coppercoat UK and explained that we felt the poor performance we had experienced was due to following their instructions instead of Coppercoat USA's. We asked for enough product to apply two more coats of Coppercoat so we would have a reasonable base to begin sanding.
To their credit, Coppercoat UK wrote back immediately and offered us enough product for 4 coats.
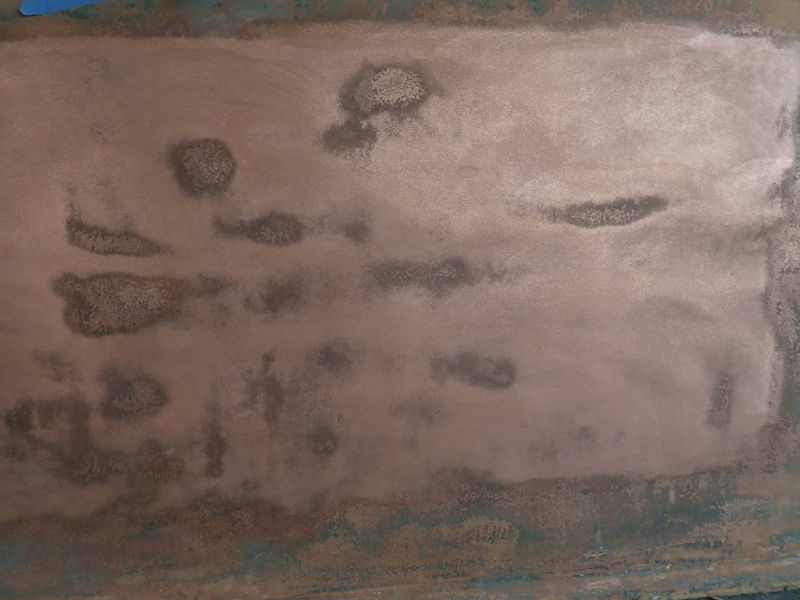
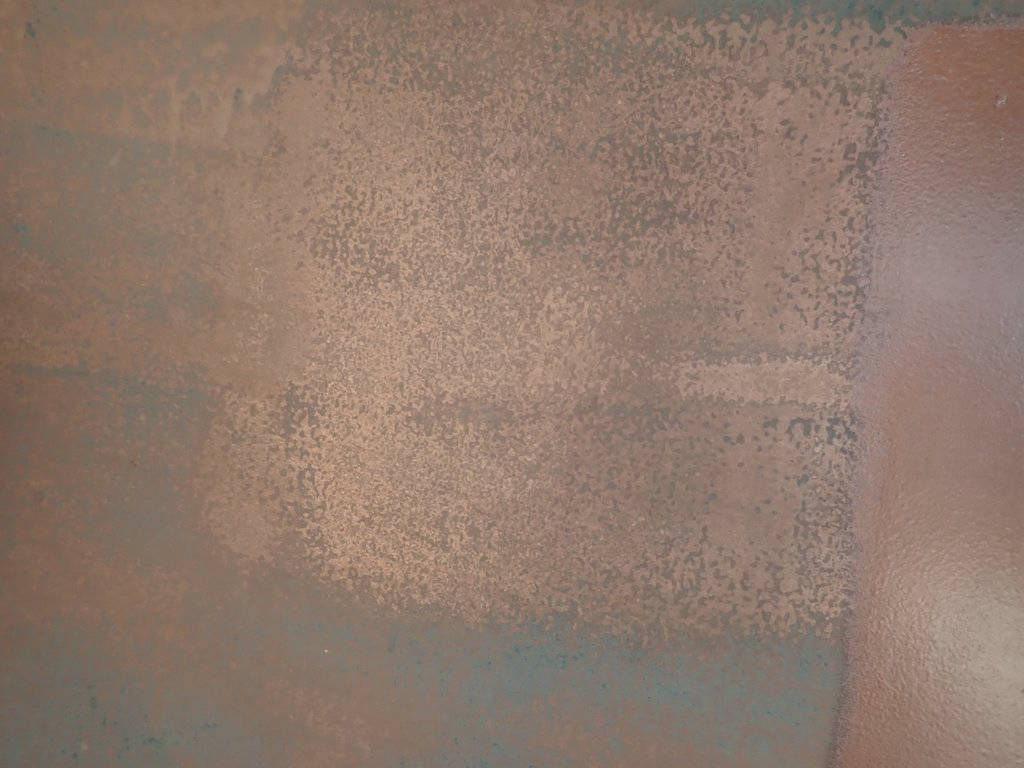
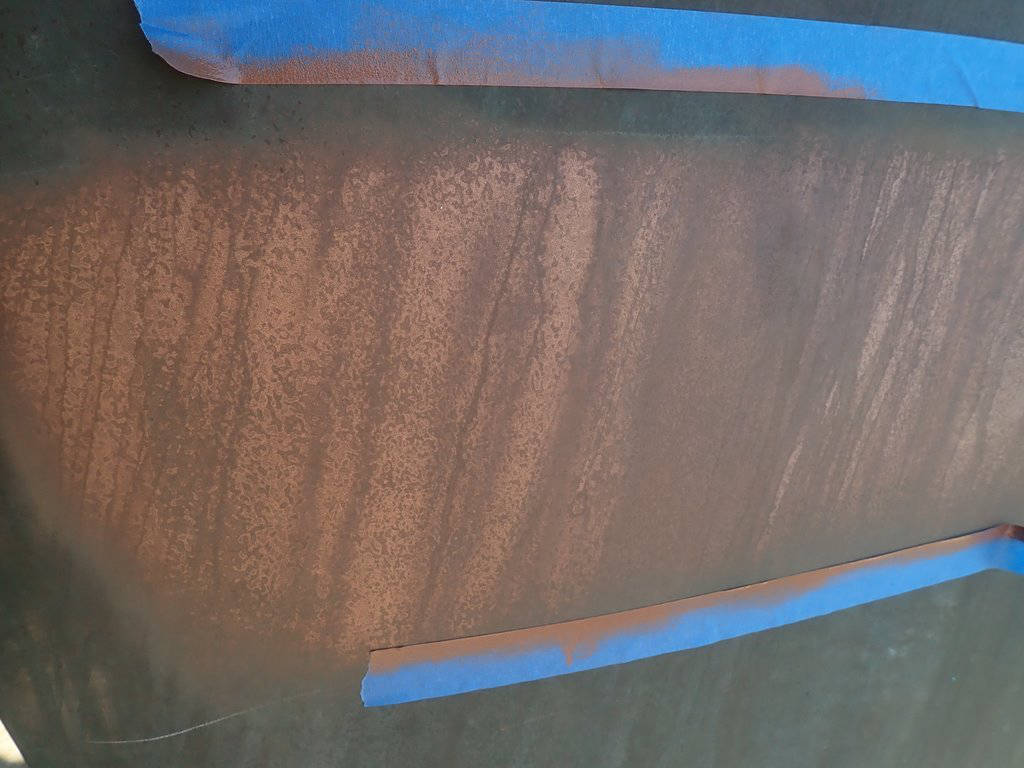
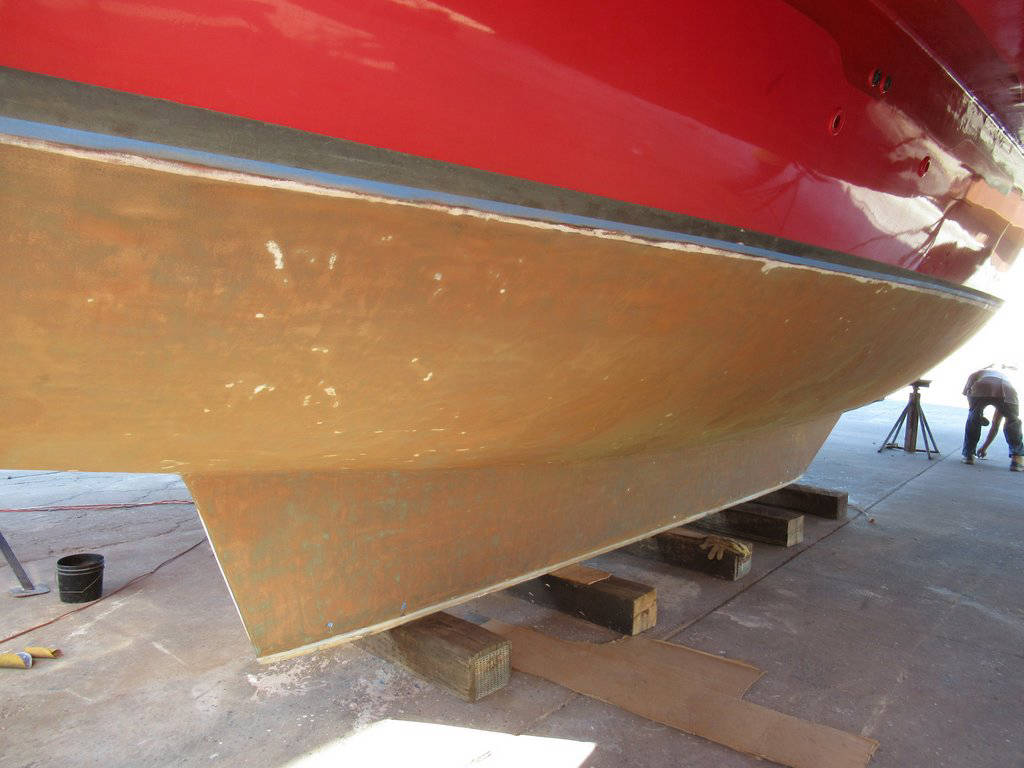
We sanded the entire bottom with 80 grit and then did as perfect an application as possible, using the exact rollers suggested by Coppercoat USA and following directions meticulously. It is important to note that even working as carefully as possible and having previous experience with Coppercoat, it was impossible to avoid some orange peel.
After the correct drying time, we tried to sand with 320 grit paper. Simply put, it was impossible. Coppercoat is hard! The paper loaded up too quickly and the progress was excruciatingly slow. We changed to 220; however, that was too difficult as well. Finally, we went over the entire hull lightly with 120 and then again with 220. Lastly, any areas that still needed sanding we hit with 320. We were able to finish in just over a week with 1 to 3 yard workers sanding each day. We did all the 'fiddly' bits ourselves: keel, rudder area, prop strut, stern tube, and thruhulls, as well as the final touch up. This seemed to take nearly as much time as the rest of the hull.
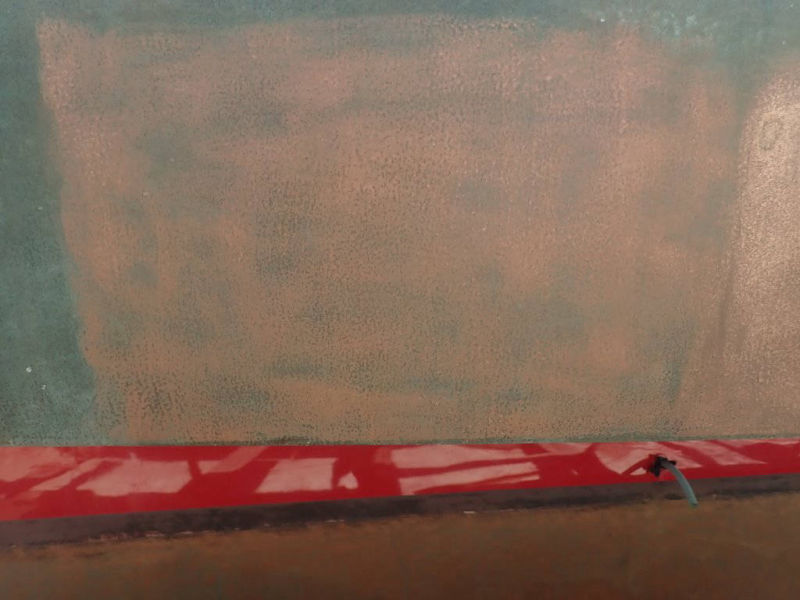
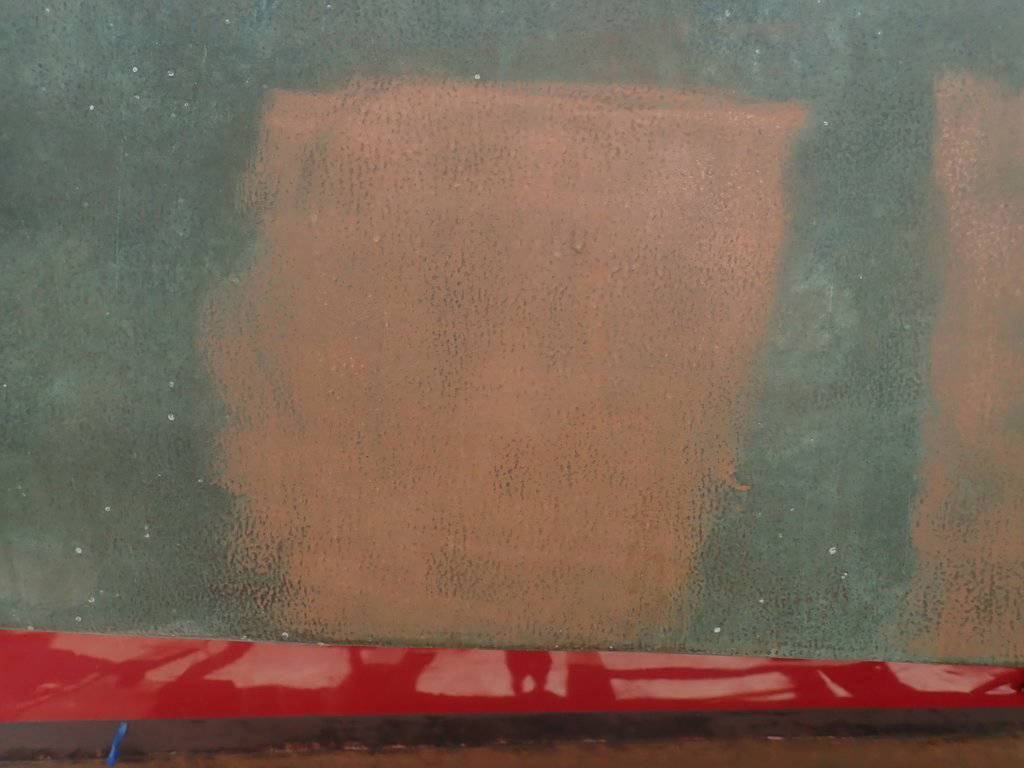
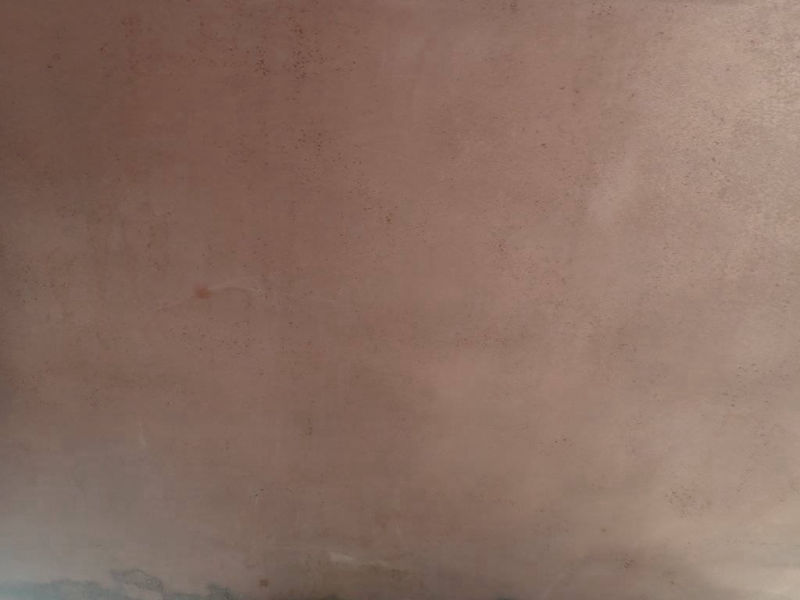
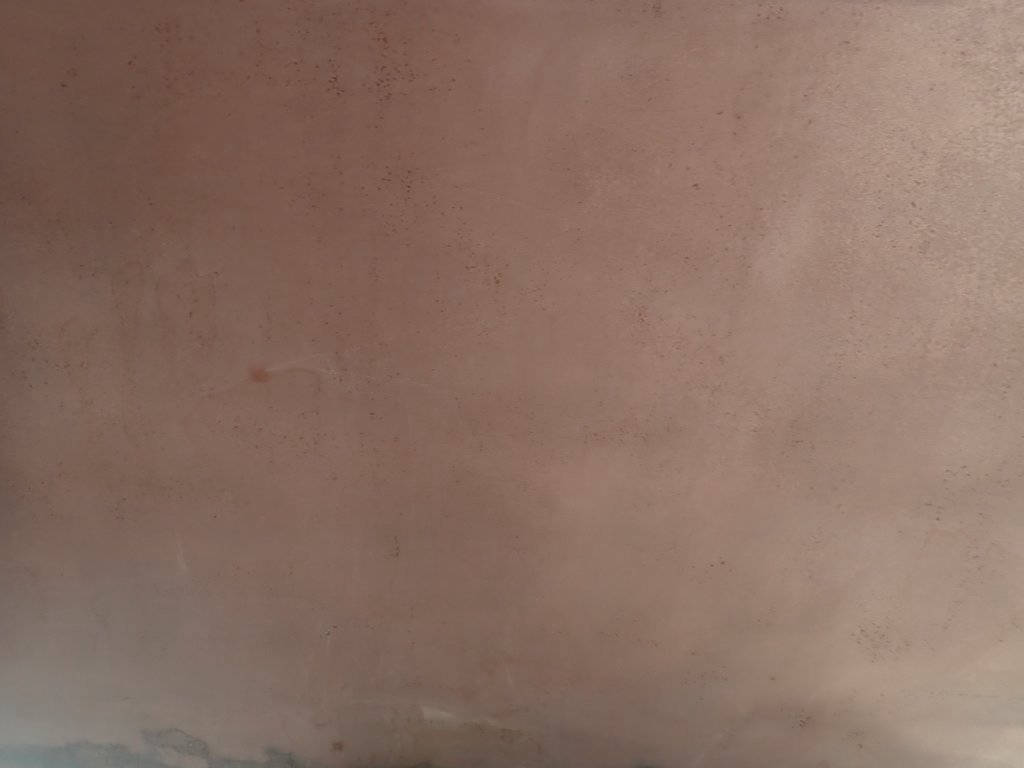
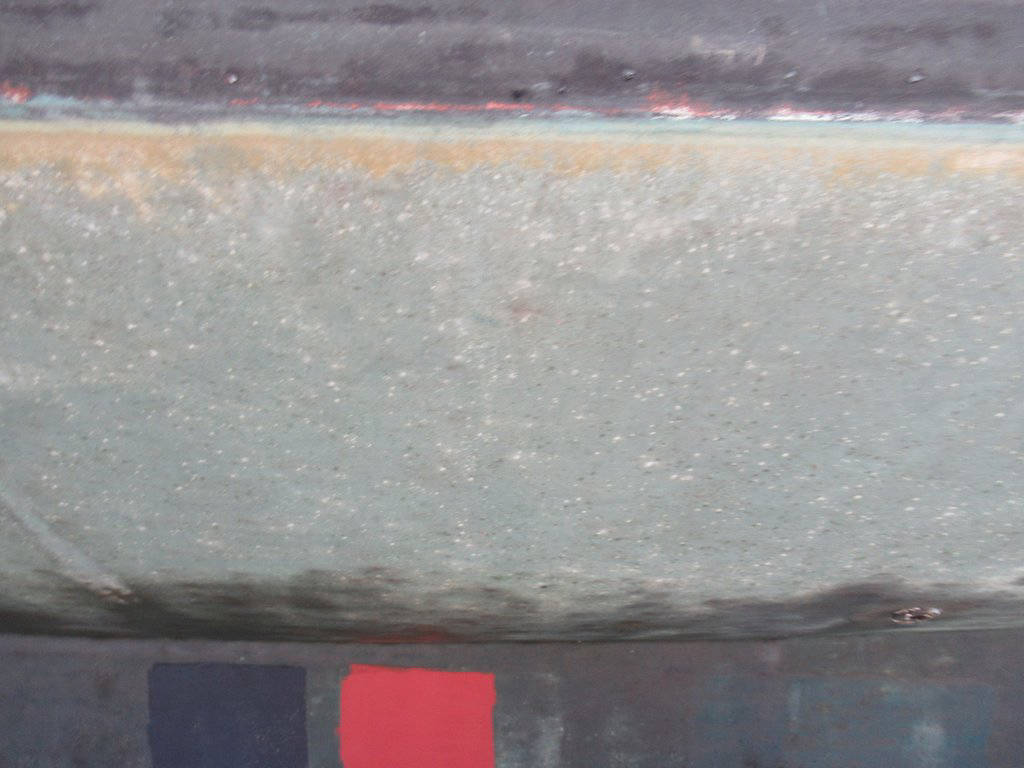
When we were finished we were pleased with the results.
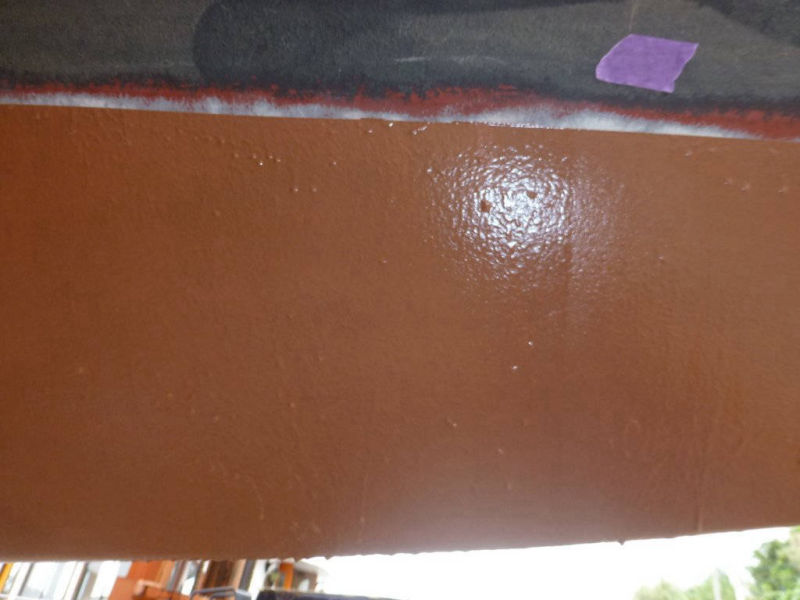
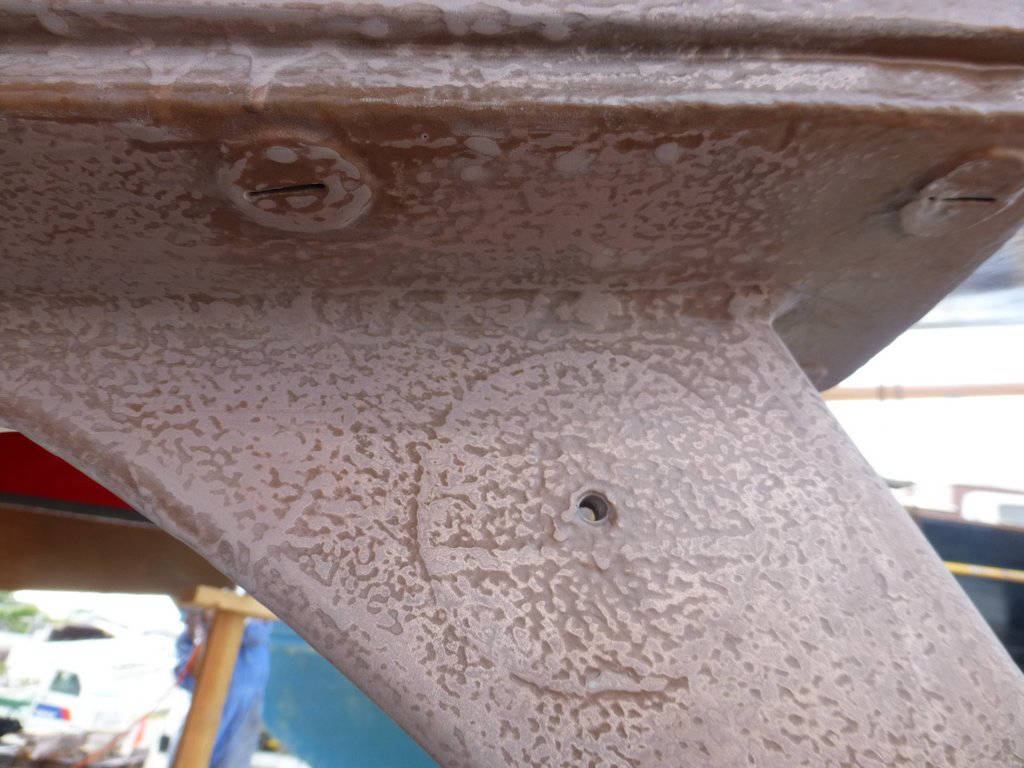
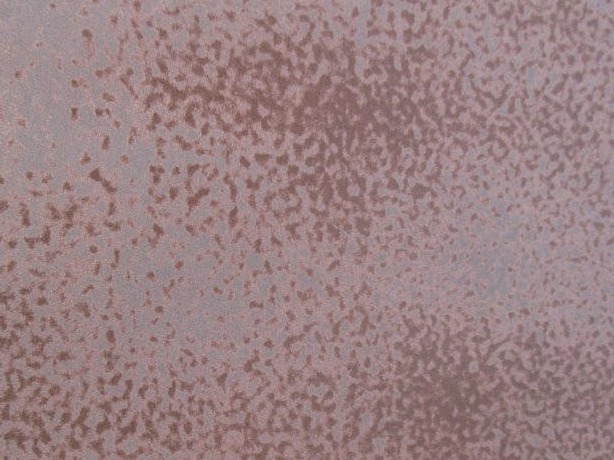
The only thing we did not like was the appearance after sanding of 'tiny pimples' on several areas of the hull -- most noticeable near the stern. We have no idea why these developed. They are still there as we have not tried to sand them out given how much more difficult it is to hand sand under water.
 Thanks Coppercoat for providing more product
 Hulls prepped with 80 grit...
 ...and ready for new Coppercoat
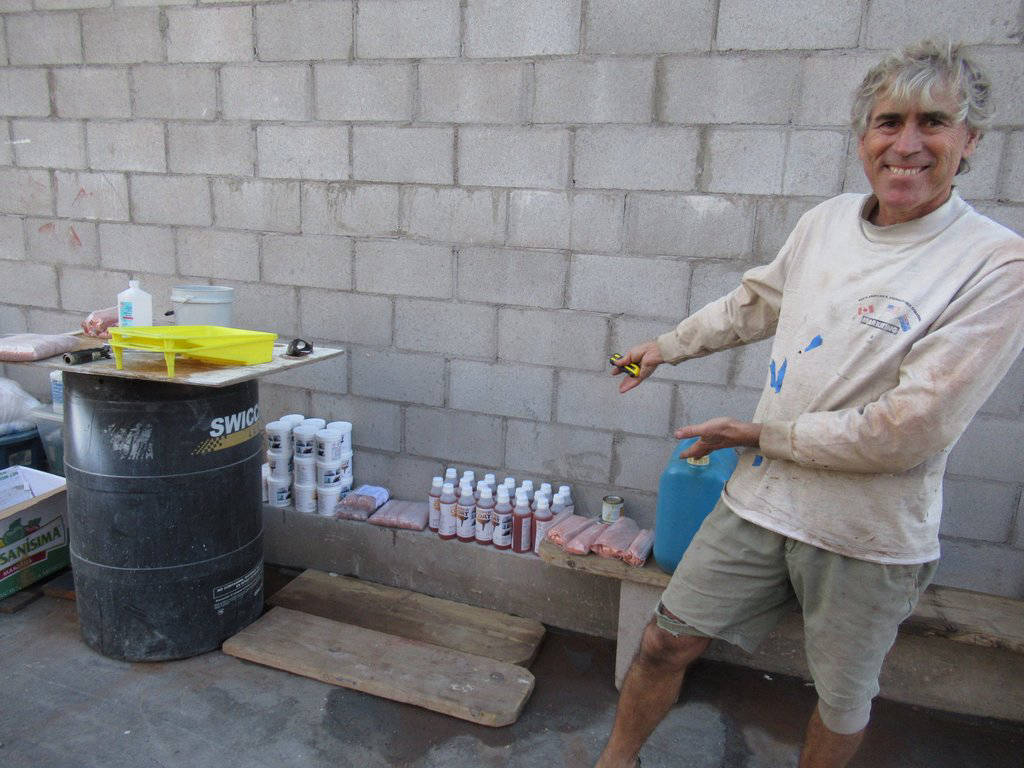
 Yachties are awesome! We had lots of help from boatyard friends.
 Alene now should be certified as an MCA - Master Coppercoat Applier
 Rudder looking great
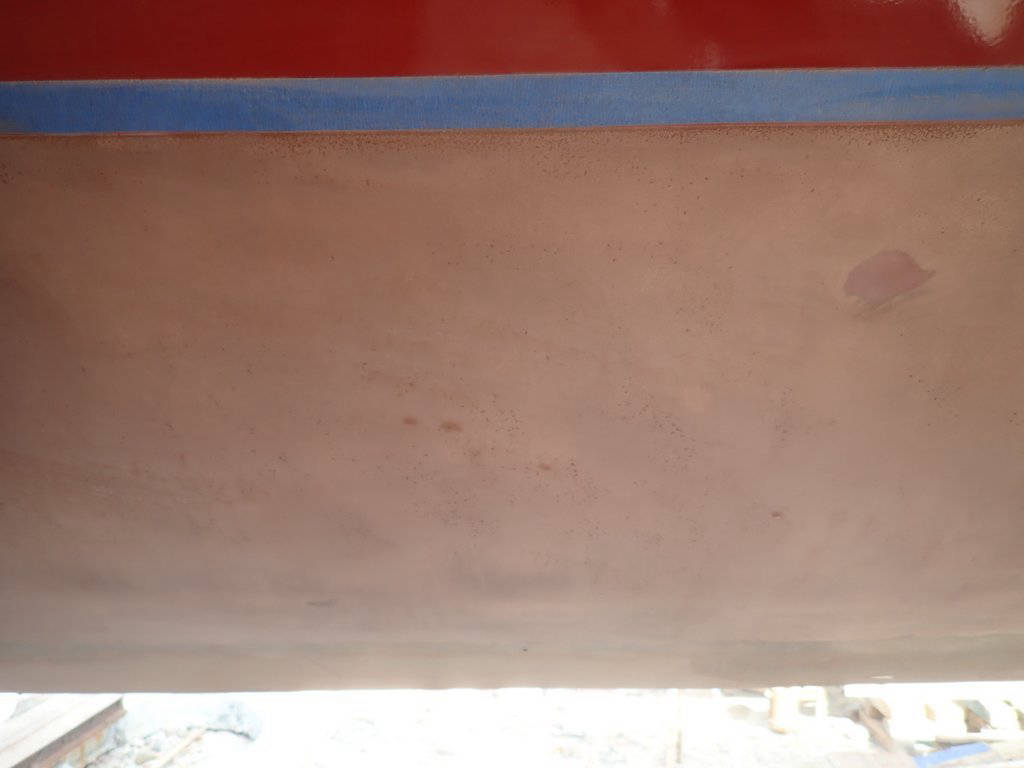
  Not perfectly smooth but pretty good
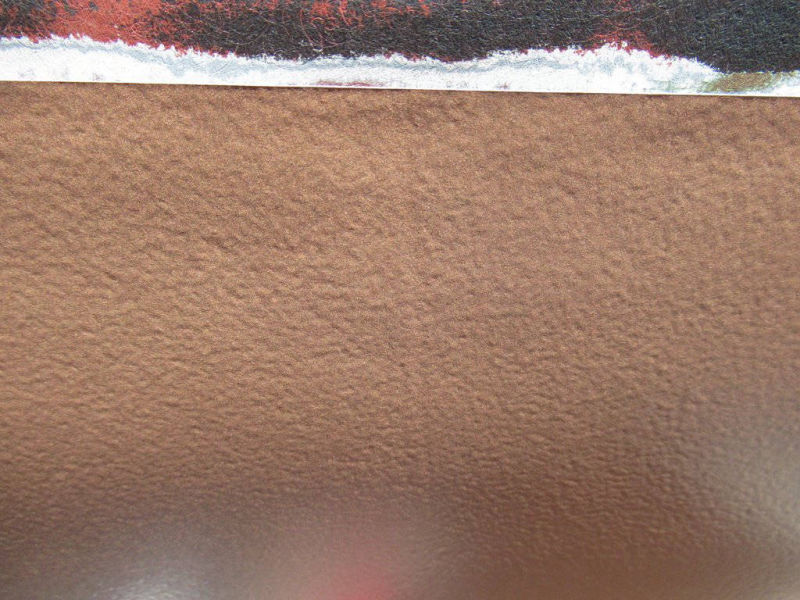 Hard to avoid some orange peel
 Transom looking nice
 Sanding underway
 First pass with 120 grit
 After the 120 sanding
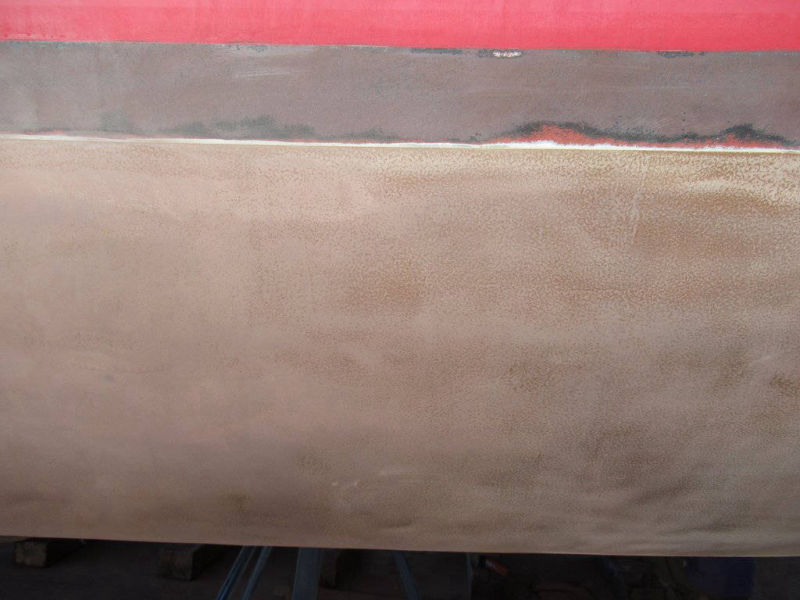 Good progress with 220 grit
 Some areas were missed but we tried to hit them with 320 grit
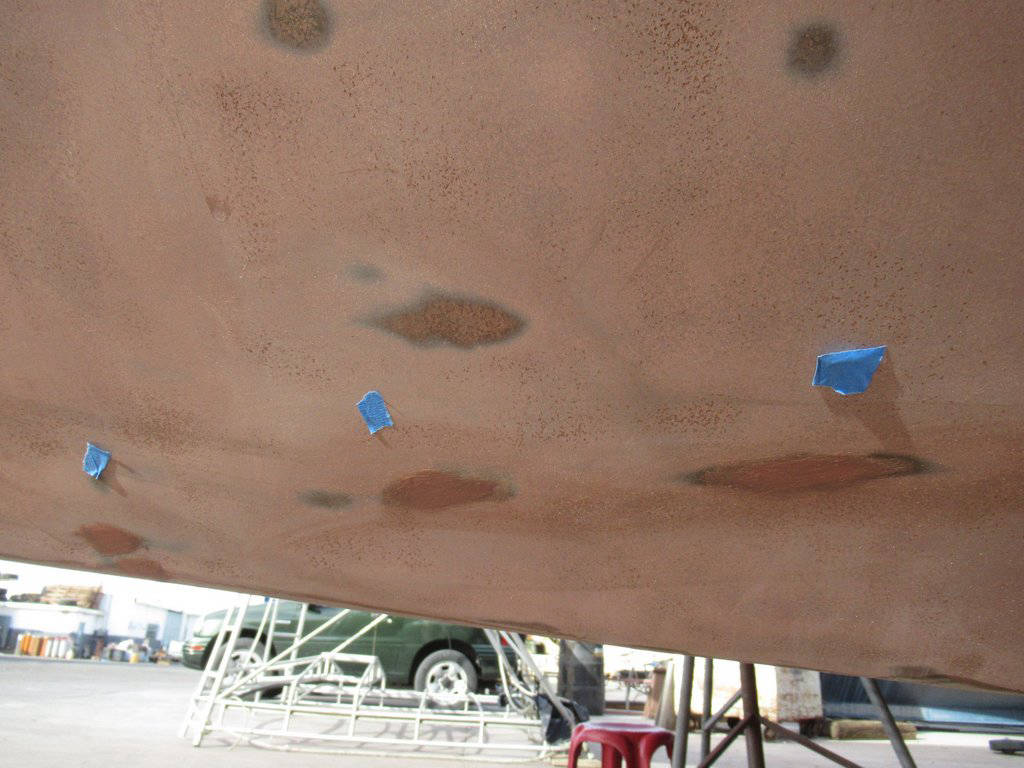
 Marking areas that need touch up
 Ready for launch
November 2019 - May 2020
Sea of Cortez, Islas Revillagigedos
& Banderas Bay, Mexico
If you've read this far, you're probably as curious to know how things turned out as we were. Unfortunately, we don't have a definitive answer. But here are our results.
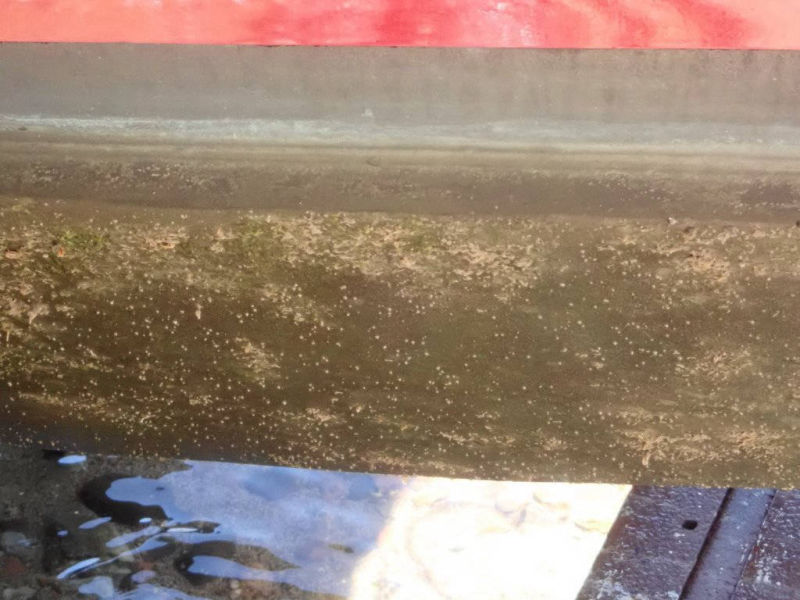
After we launched we quickly sailed the 500 miles down to La Paz. Migration was at a dock in that notoriously bad fouling area for 11 days, then out to the islands (fairly clear water) for 5 days, then back in the marina for 6. 5 weeks. We were then over a month underway or in the very clear waters of the Islas Revillagigedos. March, April, and May were spent in bad-fouling Banderas Bay and partially at the Islas Tres Marias and Isla Isabel.
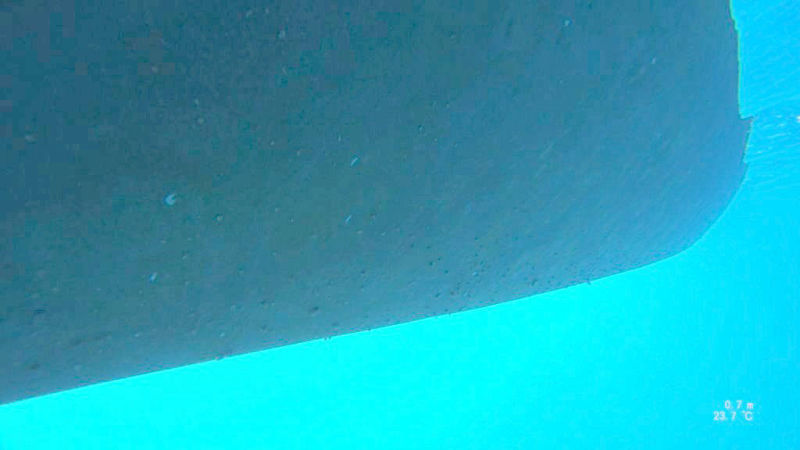
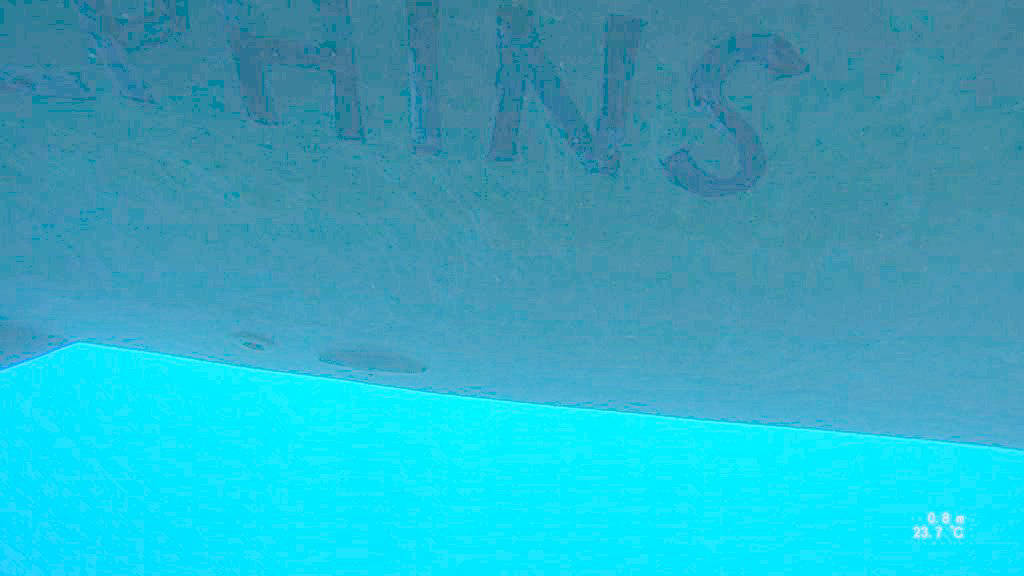
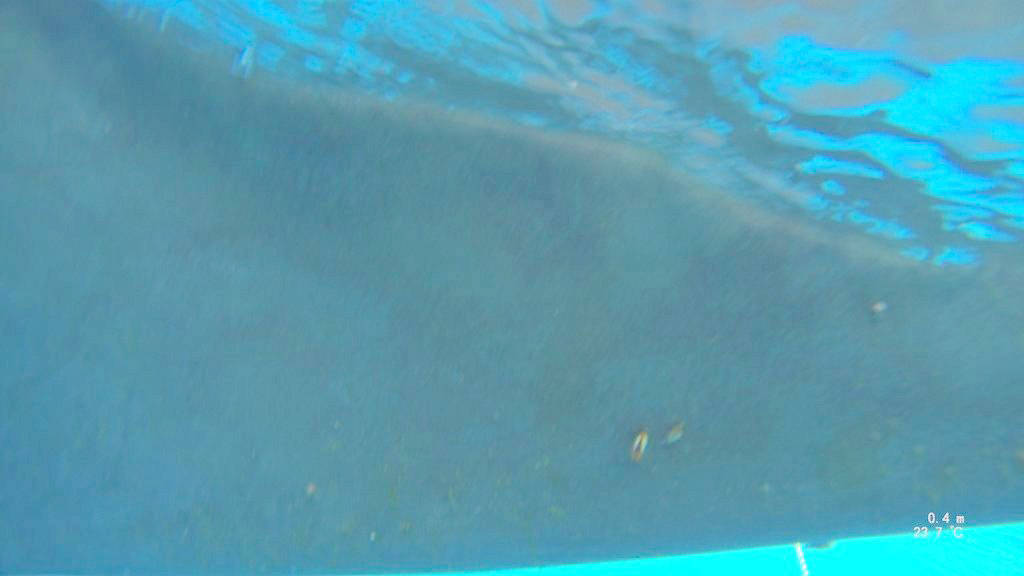
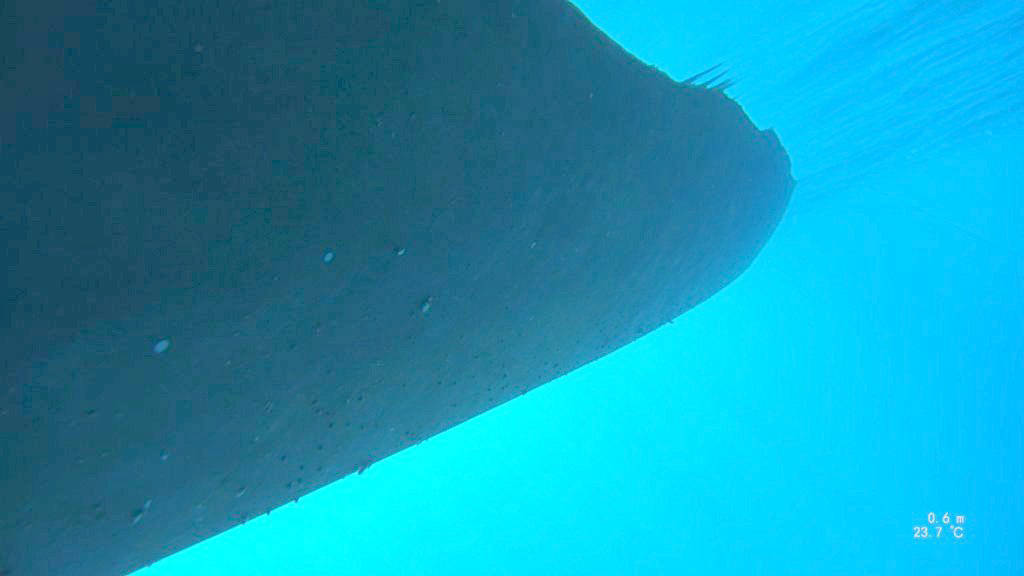
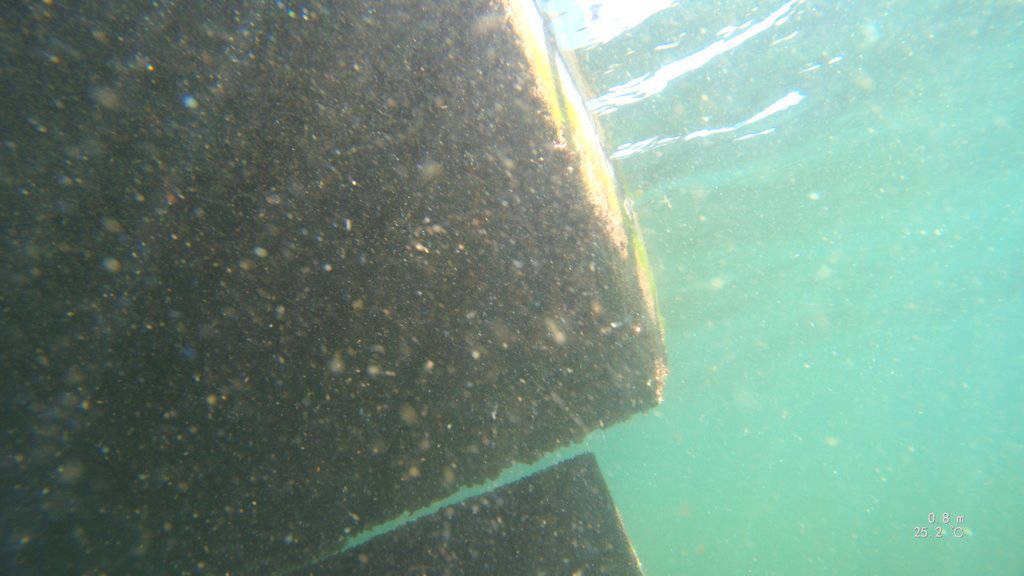
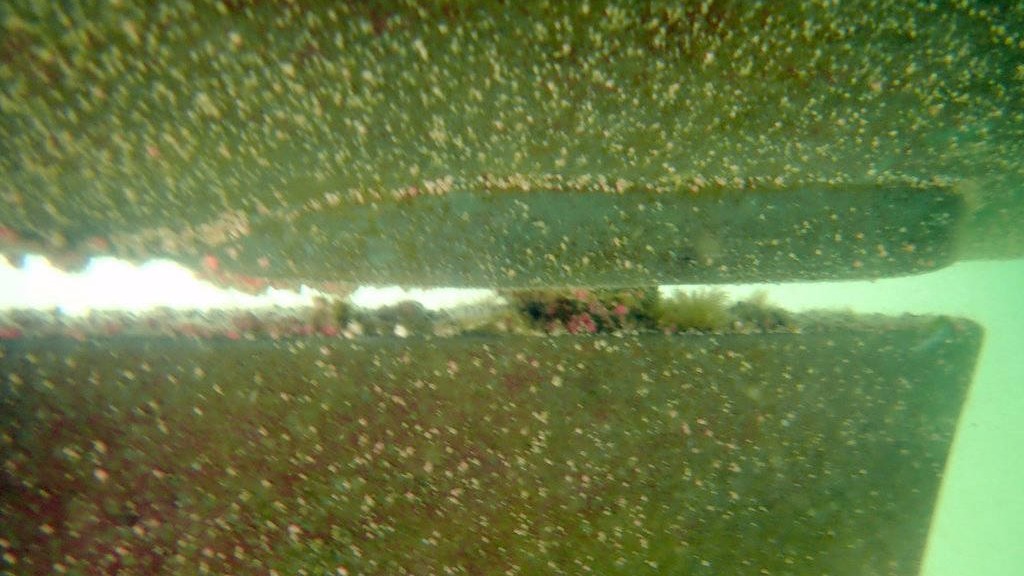
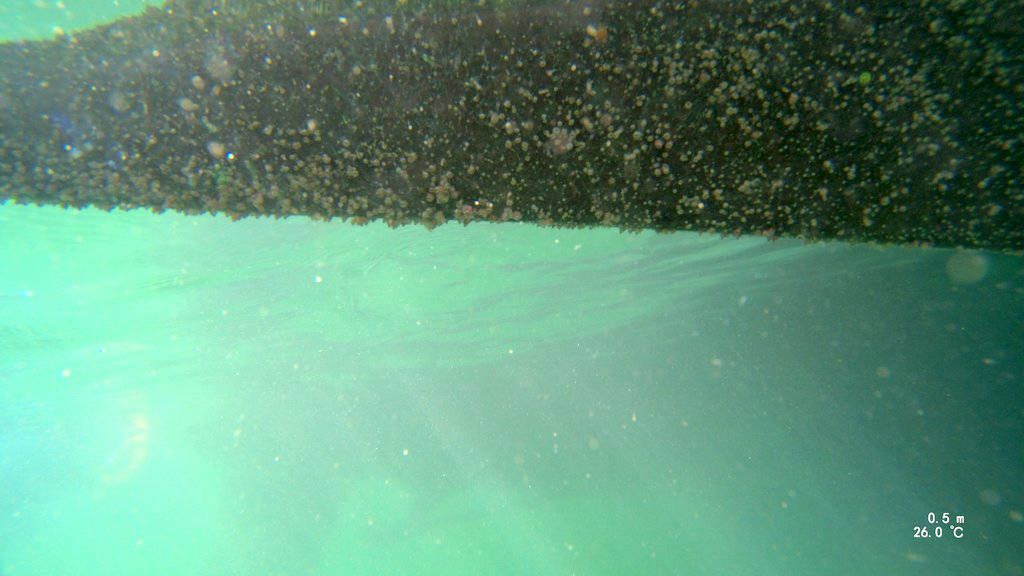
We cleaned the bottom just before leaving La Paz on 26 January 2020. 4 weeks later, having spent the entire month in the clear waters of the Islas Revillagigedos, the results were... reasonable? We would expect zero growth after so short a time in 24-24.5C (74-75F) clear water far from the mainland. But there were some barnacles here and there. Unfortunately, our photos didn't come out well; the video is better.
May 2020
Banderas Bay, Mexico
From the clear waters of Islas Revillagigedos, we sailed to Banderas Bay on the Pacific Coast of Mexico. We'd cleaned the bottom on 23 February just after taking the photos and video above. We then had mixed results in and around Banderas Bay in March and April. Frustrated with not actually knowing how the Coppercoat was performing, we decided to perform a very careful test.
24 - 27 February: On passage, Isla San Benedicto to Banderas Bay
27 February - 1 March: At anchor, Banderas Bay
1 - 27 March: Paradise Village Marina, Nuevo Vallarta
27 March: Bottom cleaned in marina, many barnacles
27 March - 3 April: At anchor, Banderas Bay
2 April: Bottom cleaned, Punta de Mita
3 - 15 April: Isla Maria Cleofas (Tres Marias)
7 April: Cleaned Bottom -- everything off, perfectly clean.
15 - 30 April: At anchor, Tres Marias, Banderas Bay
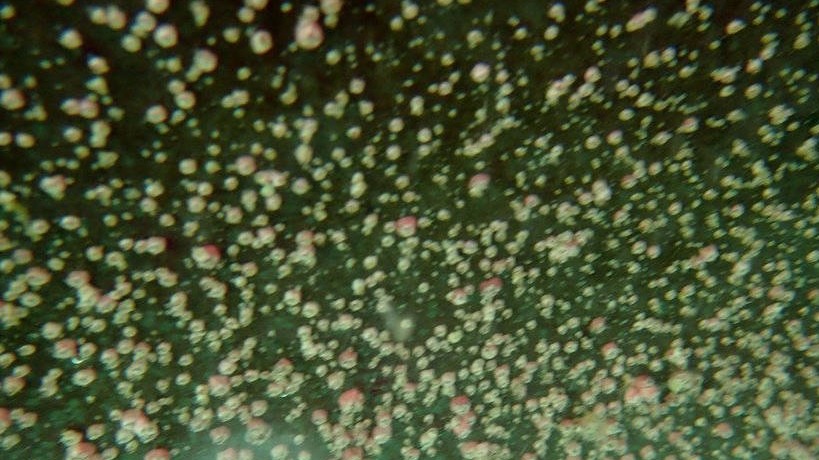
29-30 April: Documented growth
30 April & 1 May: Cleaned bottom perfectly
1 - 11 May: At anchor around Banderas Bay (moving 6 times)
11-12 May: Paradise Village Marina
12-16 May: At anchor around Banderas Bay and sailing north along coast
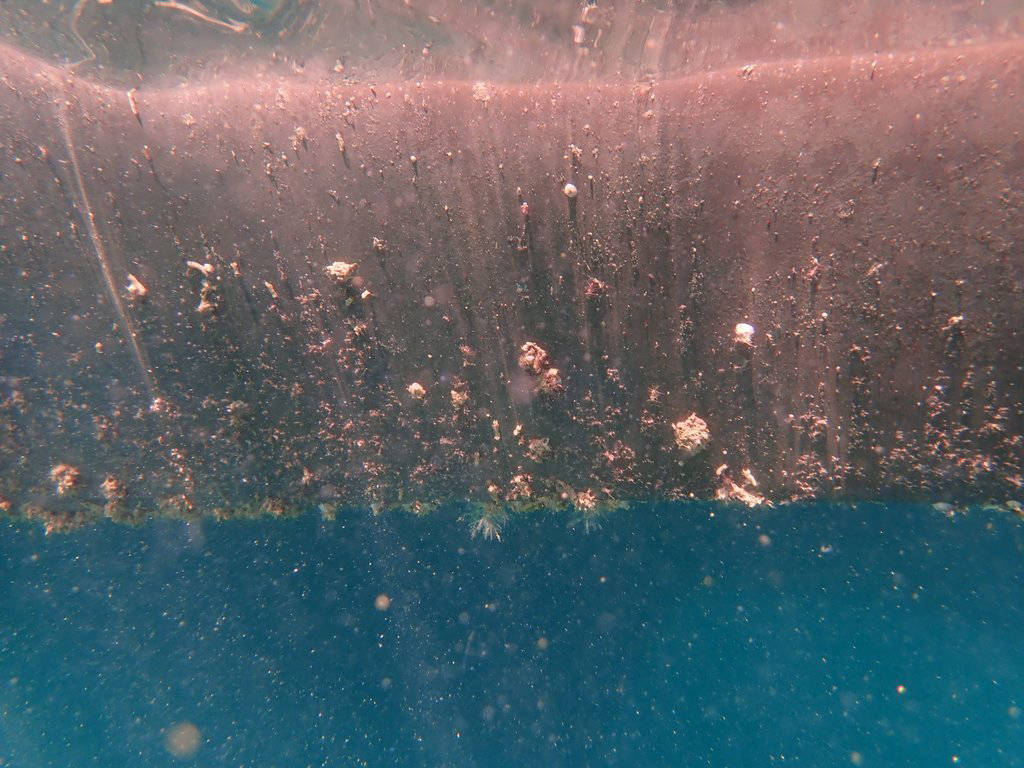
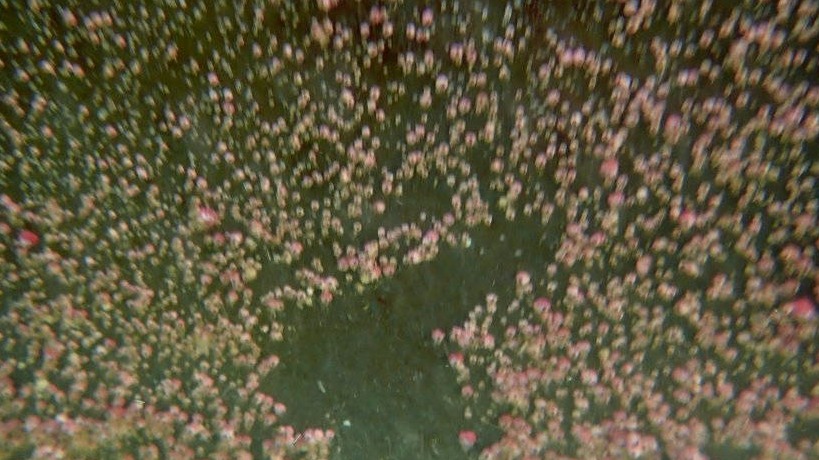
16 May: Documented growth
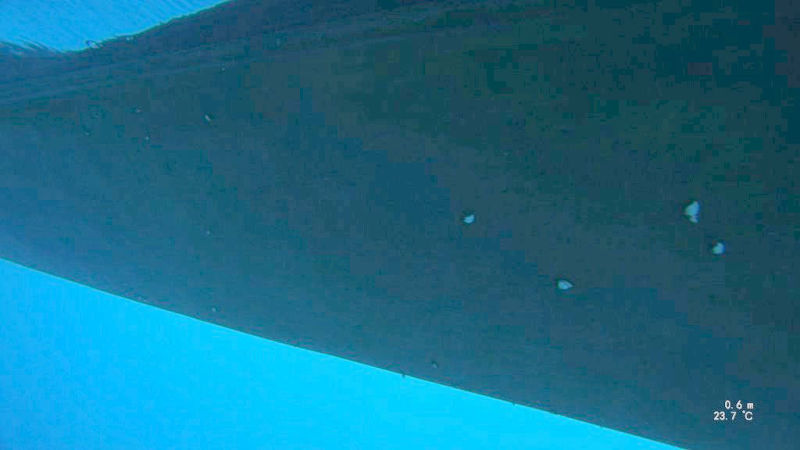
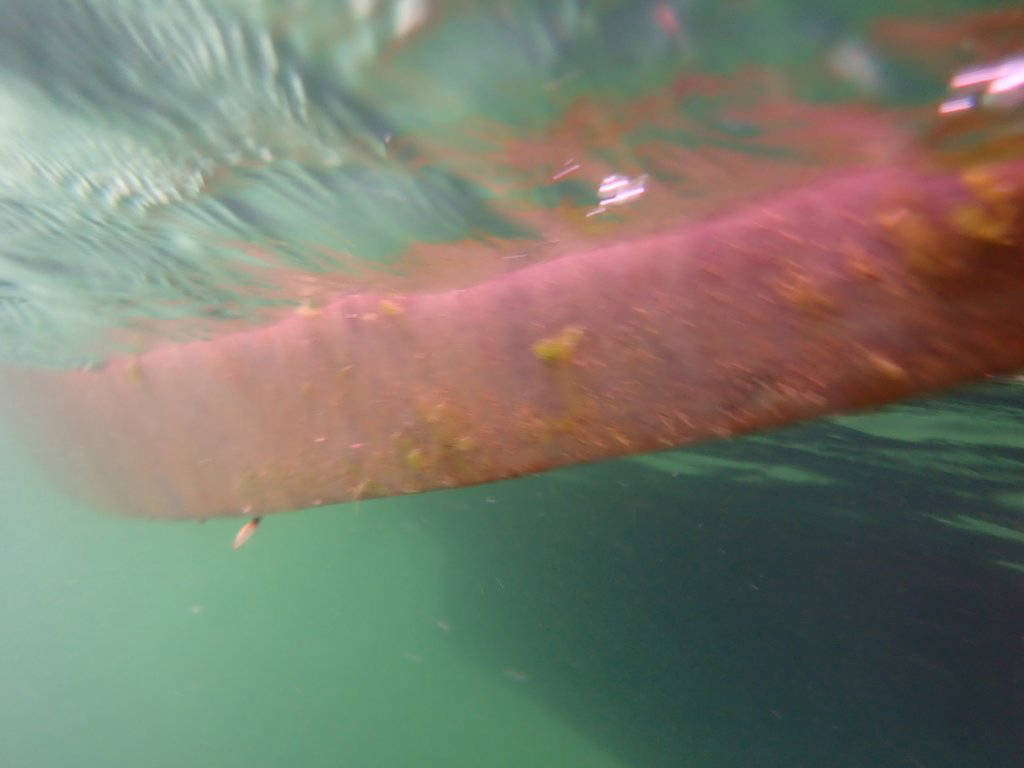
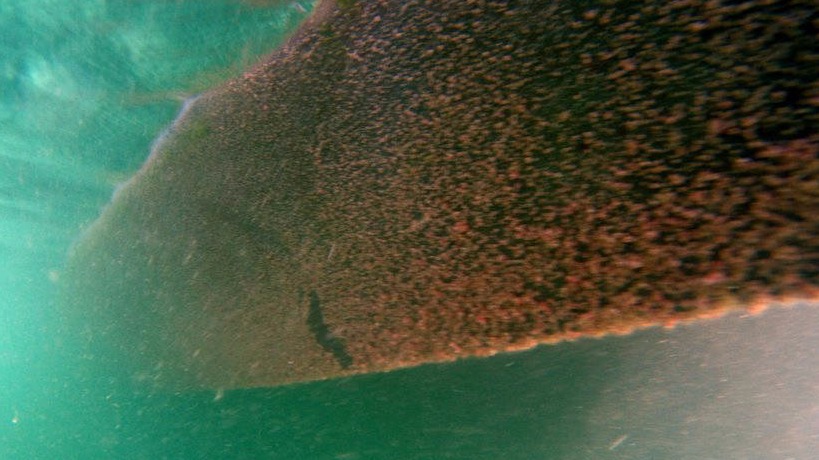
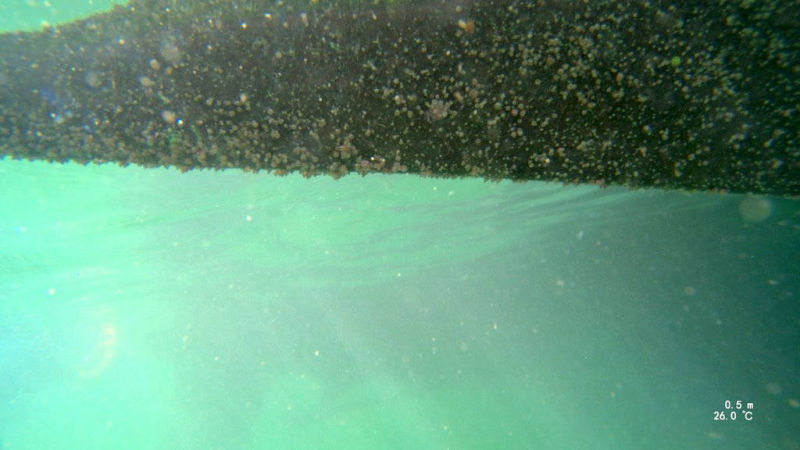
 Areas exposed to the sun, like the outside of the amas, were terrible
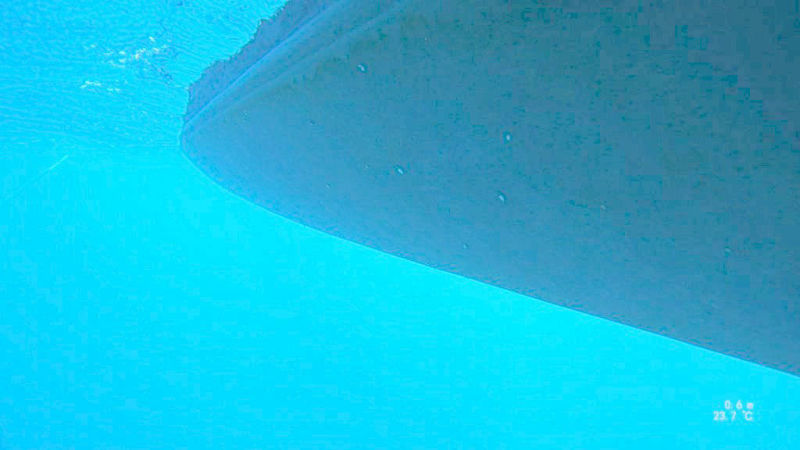
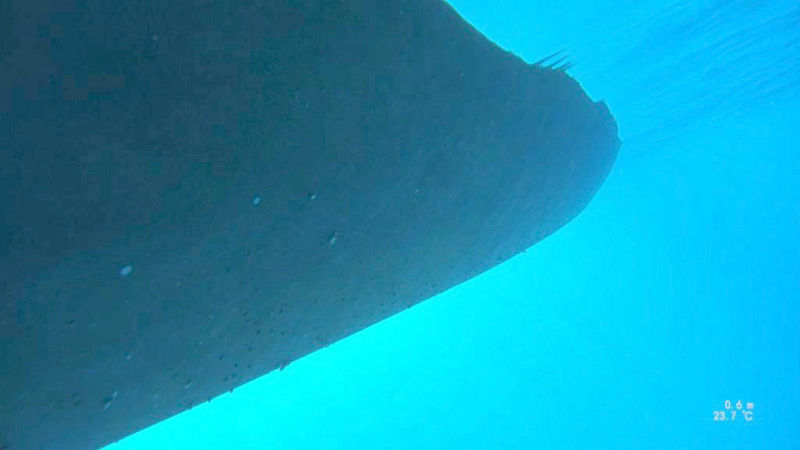
 The bows as well


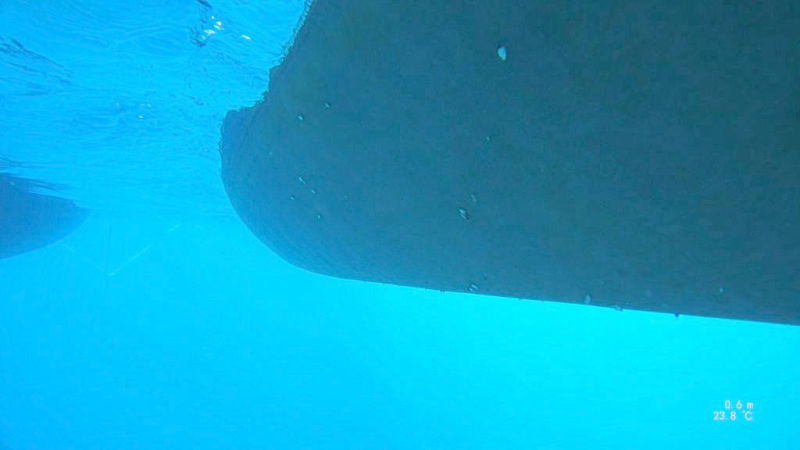
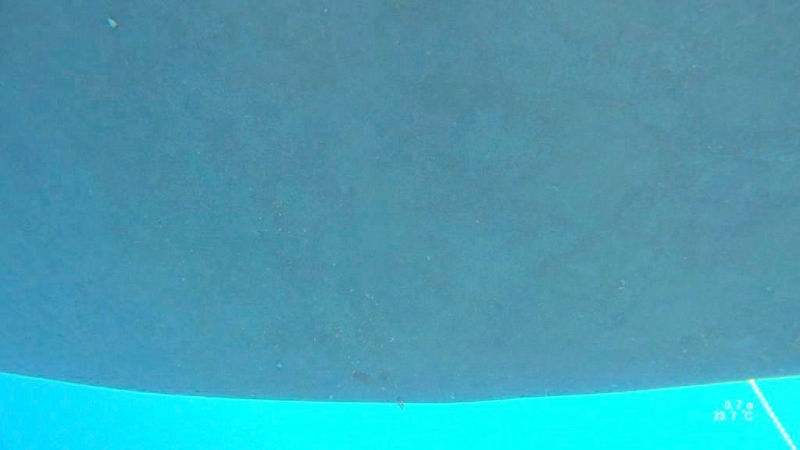
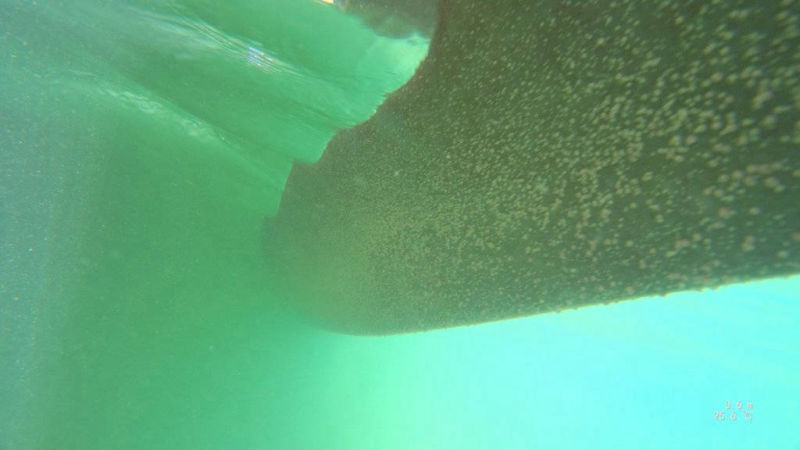
 Prop for comparison
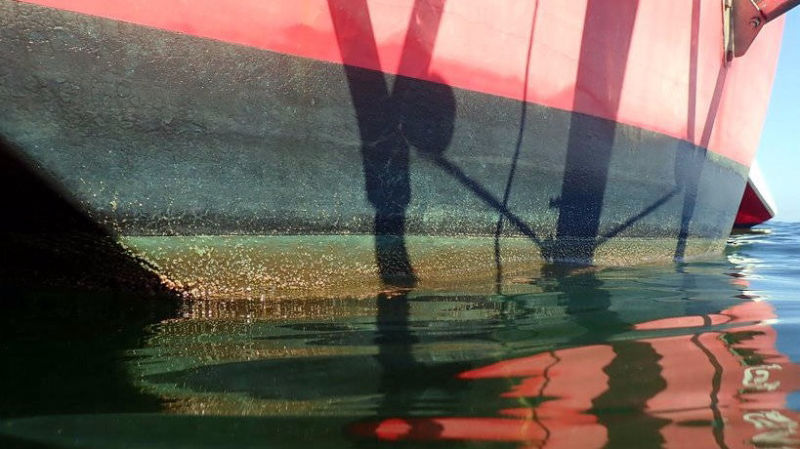 The transom was particularly bad
 Transom covered in barnacles
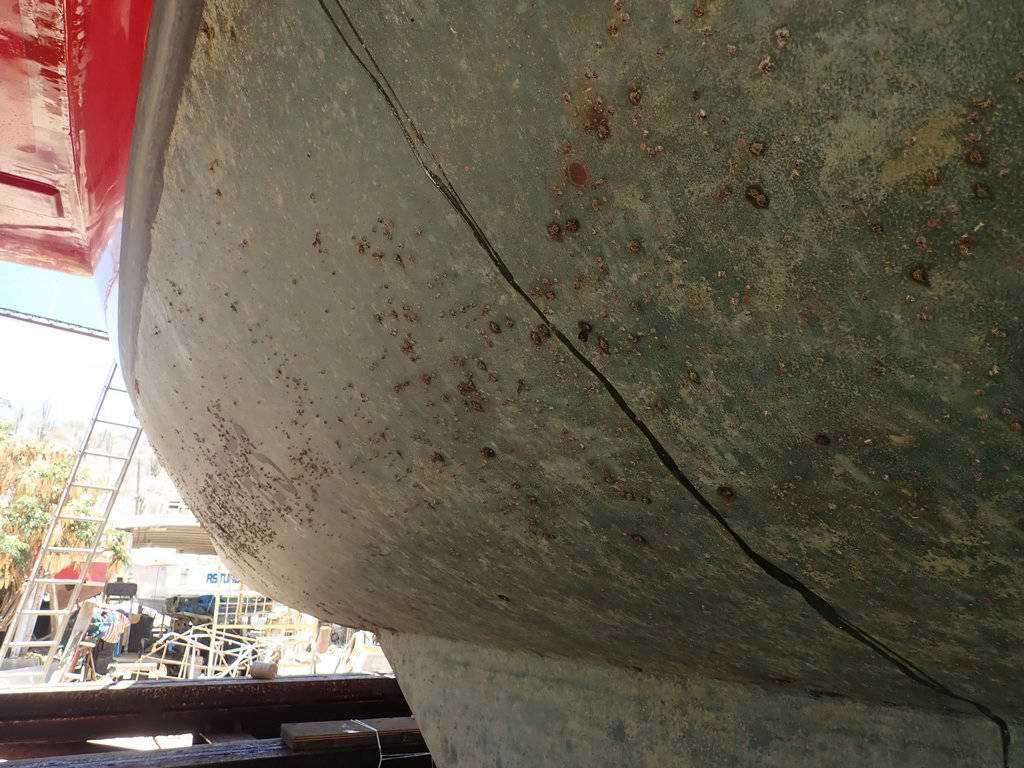
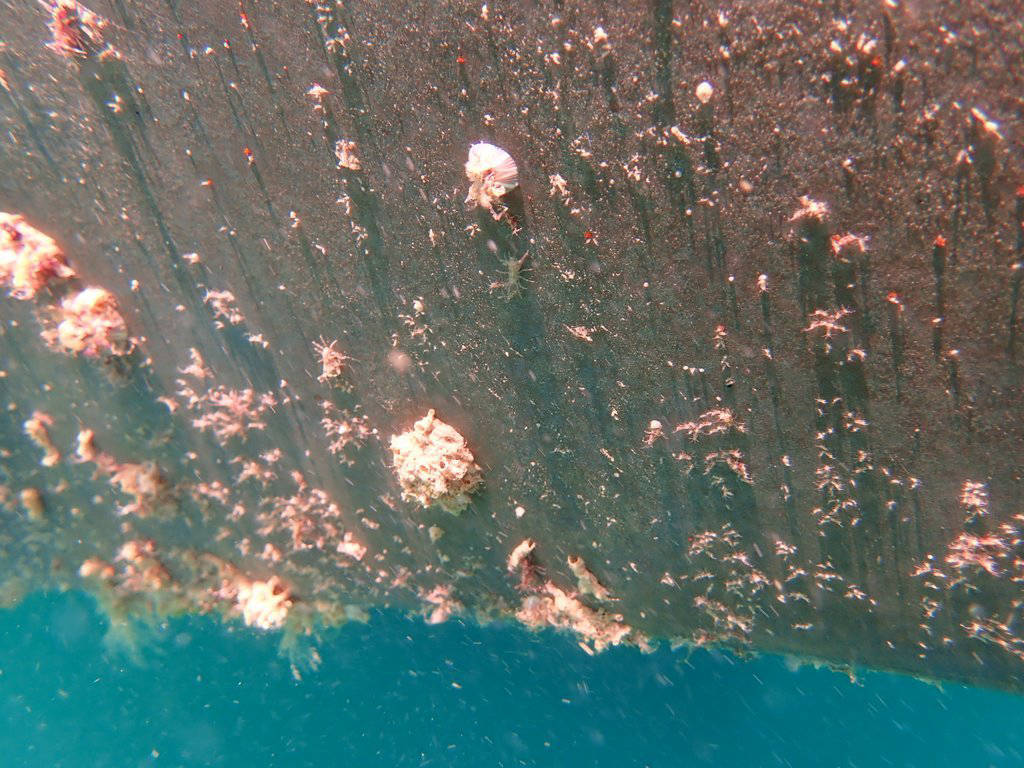
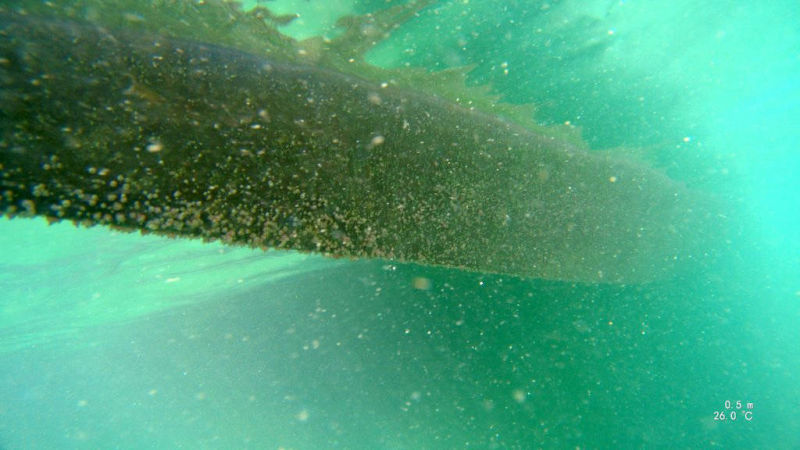
 Area around rudder was also very bad

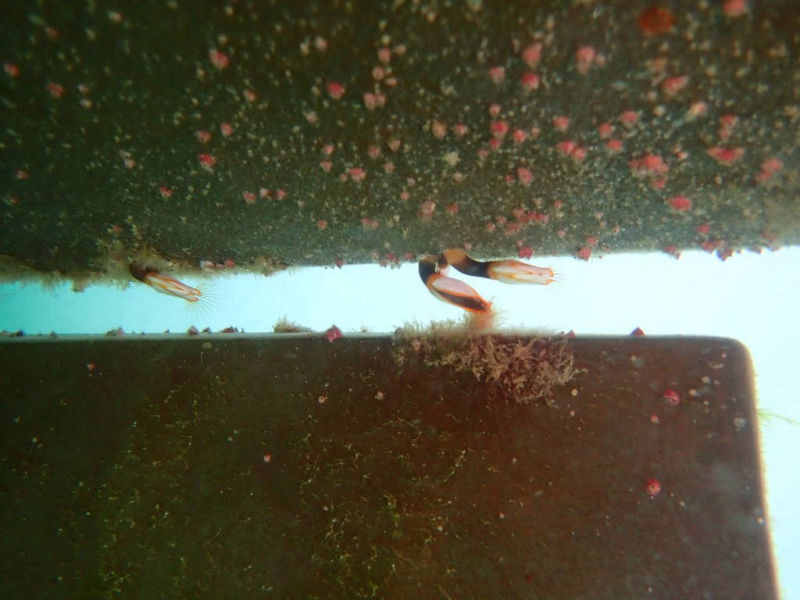
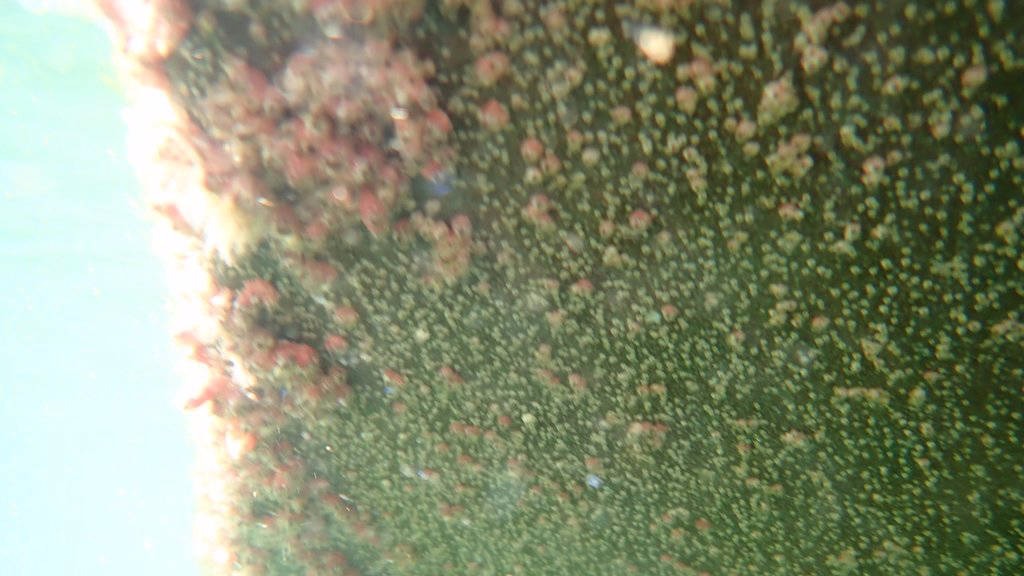
 Close up: so many barnacles!
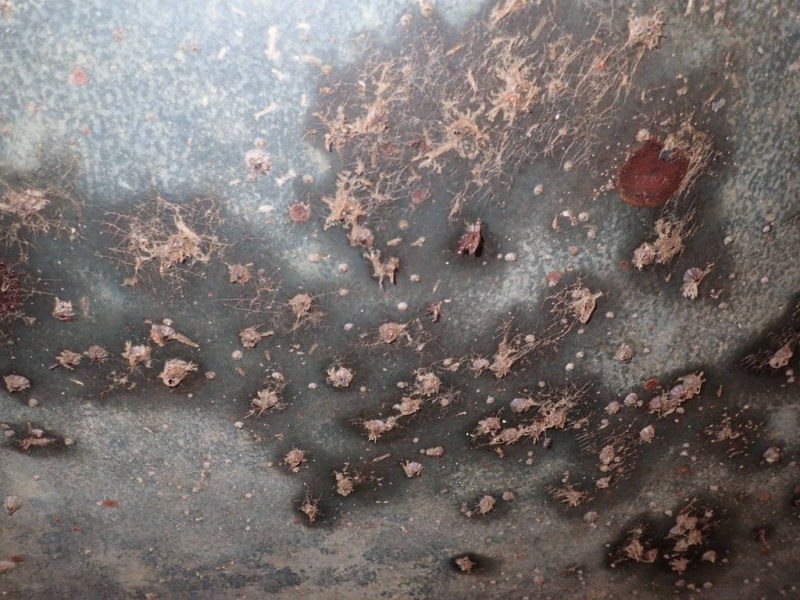
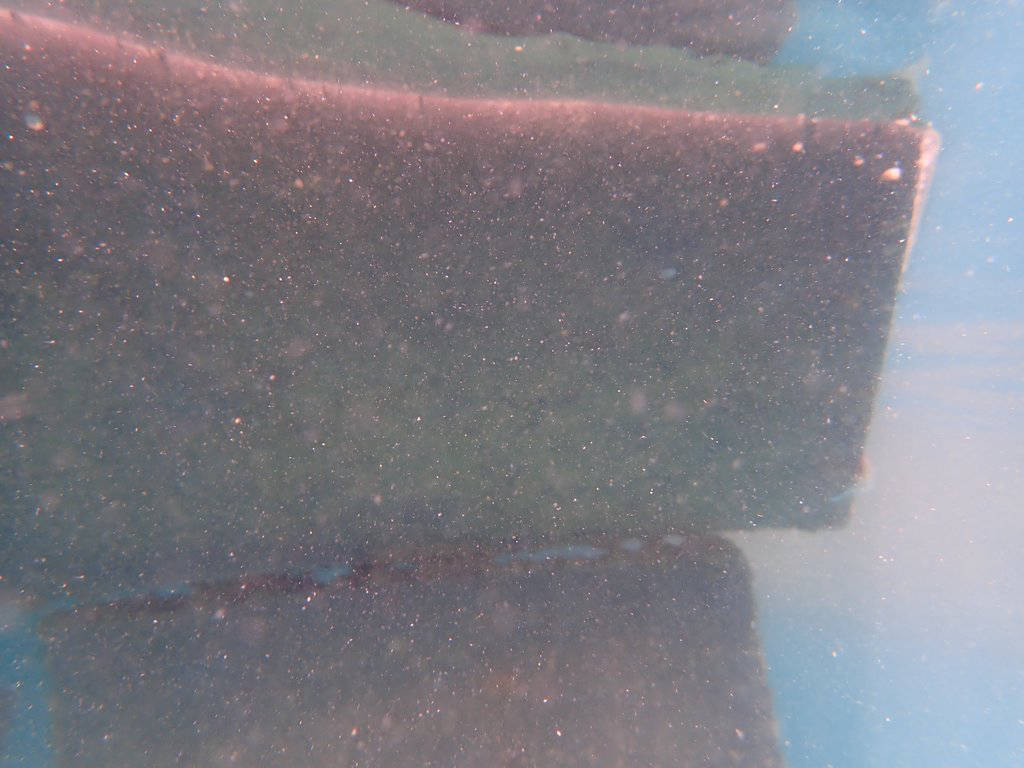
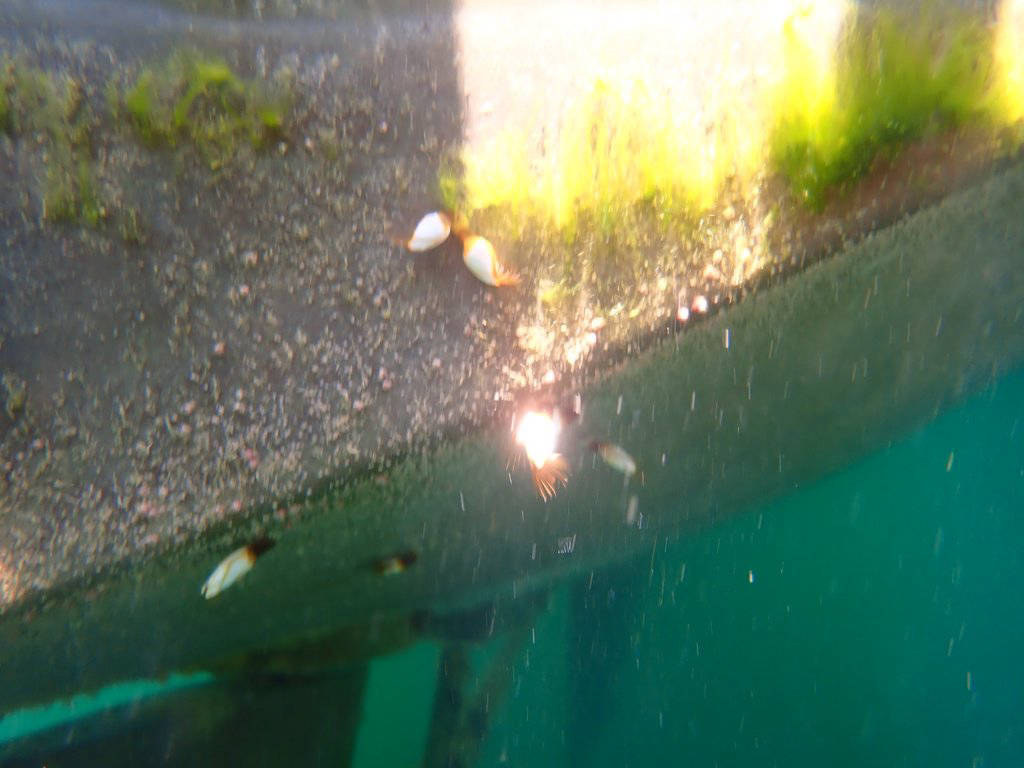
 Some small barnacle feet remain that require a plastic scraper for removal
 One pass with a plastic scraper knocks the barnacles off
We've tried to present this review with little bias; we don't have an agenda nor an axe to grind. We want to share our exprience to help others make their own decisions.
So what's the final word? If you've read the above you will know that our results have been all over the place.
However, a few things are clear:
1. Coppercoat works pretty well in cold water.
When we were in the North Pacific, our bottom stayed pretty clean. However, most bottom paints are not challenged in cold water.
2. Coppercoat is ineffective in high growth areas.
When we were in harbors like La Paz and Nuevo Vallarta -- areas known for extremely high growth -- Coppercoat barely worked at all. It took less than a month for the bottom to be covered by barnacles.
3. Coppercoat's performance varies from useless to effective depending on the area and water temperature... even in the same region.
We could not find a clear indication of when Coppercoat would work and when it wouldn't. However, it definitely does not work well on the Pacific Coast of mainland Mexico or in the warm summer waters of Southern California.
4. If you don't follow Coppercoat USA's sanding instructions, you will get very poor performance.
Unless you are in very cold water (18C or below), Coppercoat will not perform well unless you apply it with care and sand it to a very smooth finish.
5. Unless you spend a lot of money and time, you will not be able to follow Coppercoat USA's sanding instructions.
Though we tried, it was clear that there was no way we could sand the bottom of our boat with 320 grit: the sanding discs (good quality 3M) loaded up within a minute and the progress was excruiciatingly slow. We did a first pass with 120 grit, followed up with 220, and then touched up with 320.
Would we do it again? If our cruising plans included any significant time in Mexico, absolutely not. It is clear from our experience that we will have to clean the bottom every 2 weeks to keep the barnacles away. To us, this is unacceptable performance for any antifouling product. However, we do weigh this against the fact that Coppercoat is kinder to the environment than traditional antifouling paints.
Since we are heading to the South Pacific and will most likely return to other areas of the world with cooler waters (e.g., Japan and New Zealand), we are hoping that the performance of the Coppercoat will improve in these areas. If we can avoid 2 haul-outs (over 10 years) and not have to clean the bottom every 2 weeks, we will be satisfied. But that remains to be seen.
For now, until we get out of Mexico in April 2021, it is obvious that we will be cleaning the bottom a lot. (Unless Coppercoat's performance suddenly improves in the Sea of Cortez this summer.)

The cost of the product is minimal, especially as traditional bottom paint prices skyrocket. The labor costs -- unless you can hold an orbital sander above your head for 2-4 weeks -- are far greater than the product. And don't forget haulout and lay days.
It is imperative that you use proper rollers. For our 2019 application, we purchased the Corona Slicker 1/8" foam rollers recommended by Coppercoat USA. We tried West System foam rollers but they fell apart fairly quickly. You will also need a lot of blue tape and paper masking.
Read the instructions beforehand. Then read them again. Then follow the instructions exactly. Don't cheat when mixing. If you have to mix a partial batch, do so as the instructions tell you. Have a good work space set up with everything you need.
Sand. Sand. Sand. Random orbit sander with 220 grit. 320 if you can (but we doubt you can).
Sanding Coppercoat creates a lot of copper-laden dust. Unless you have high-quality sanders with vacuum attachments, you will get copper dust on your boat. Make sure you wash it off as soon as possible or it will turn your deck a beautiful verdigris.
When you sand the Coppercoat you will breach. Guaranteed. That means there will be places where you sand too far and go through all layers of the Coppercoat. This will require you to repair it. That requires applying four coats of Coppercoat to those areas and waiting for them to dry for 48 hours before sanding. Don't forget to include this in your work schedule.
If the bottom has been sanded properly, it is usually very easy to clean. However, if the barnacles grow large enough to take good hold, you are in for a big job.
We'll add updates as time passes and as we move through different waters.
Buy us a beer? No thanks...
We hope this site has helped in your decision-making about Coppercoat.
When we learned to sail, we benefited from advice that was given generously and with no thought to personal profit.
We loathe the trend in the sailing community to monetize everything about cruising, so in exchange for this information, the only thing we ask is that you consider your use of companies that harm our environment, mental health, and democracy: Quit Facebook and reduce your use of social media, don't buy from Amazon, and avoid Google (we're working on that one ourselves).
And if you would like to support a worthwhile charity, please support NRDC.
Thanks.
Bruce & Alene
s/v Migration